To send a Dynamic Video campaign through Snov.io, copy the Snov.io snippet code from your Sendspark campaign and paste it into a Snov.io email step to display the thumbnail. Then export Sendspark’s clean CSV, duplicate the EMAIL column and rename the copy “email2,” add a matching “email2” custom field on import, and launch the campaign.

Key takeaways

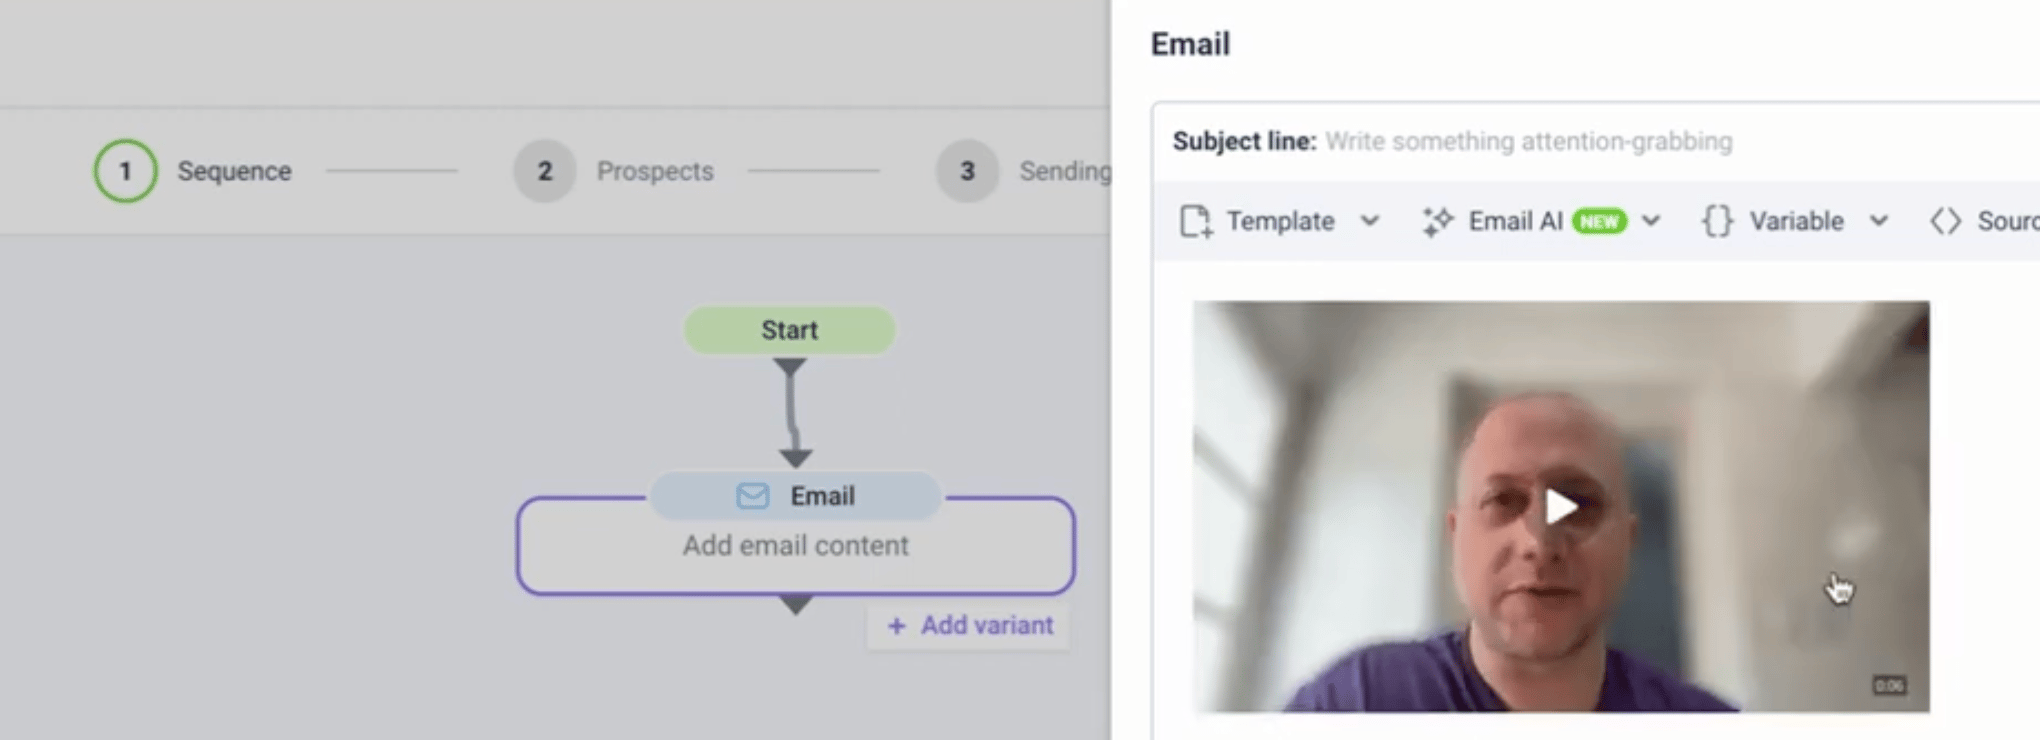
  • Copy the Snov.io snippet from your Sendspark Dynamic Video Campaign and paste it into the email step to display the thumbnail, then save the email.
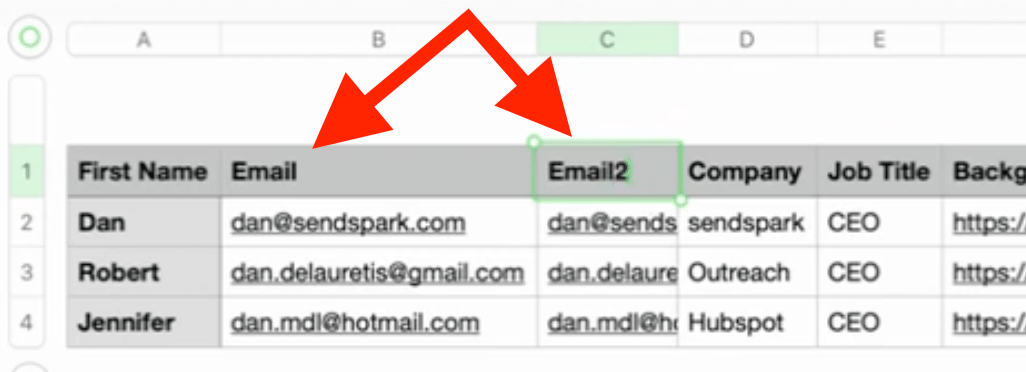
  • Export Sendspark’s clean CSV, then duplicate the EMAIL column and rename the copy exactly “email2.”
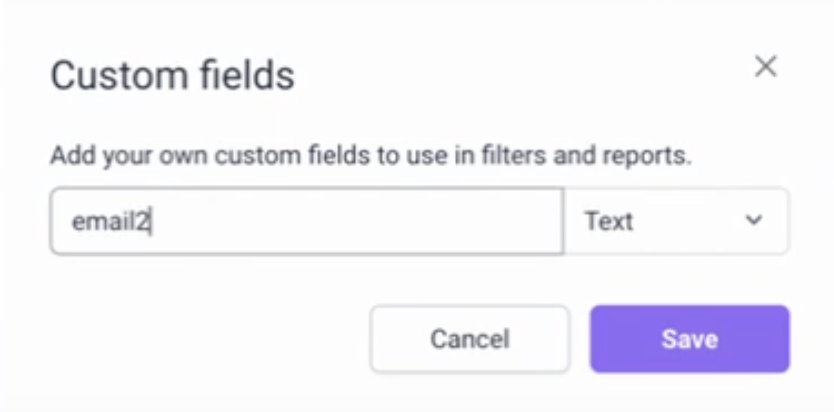
  • In Snov.io, add a custom field named “email2” (lowercase, Text type) when importing prospects.
  • Set your account and deliverability options, then launch the campaign from All Campaigns.
Follow these steps to send your Snov.io Dynamic Video Campaign:

Step By Step Tutorial Version

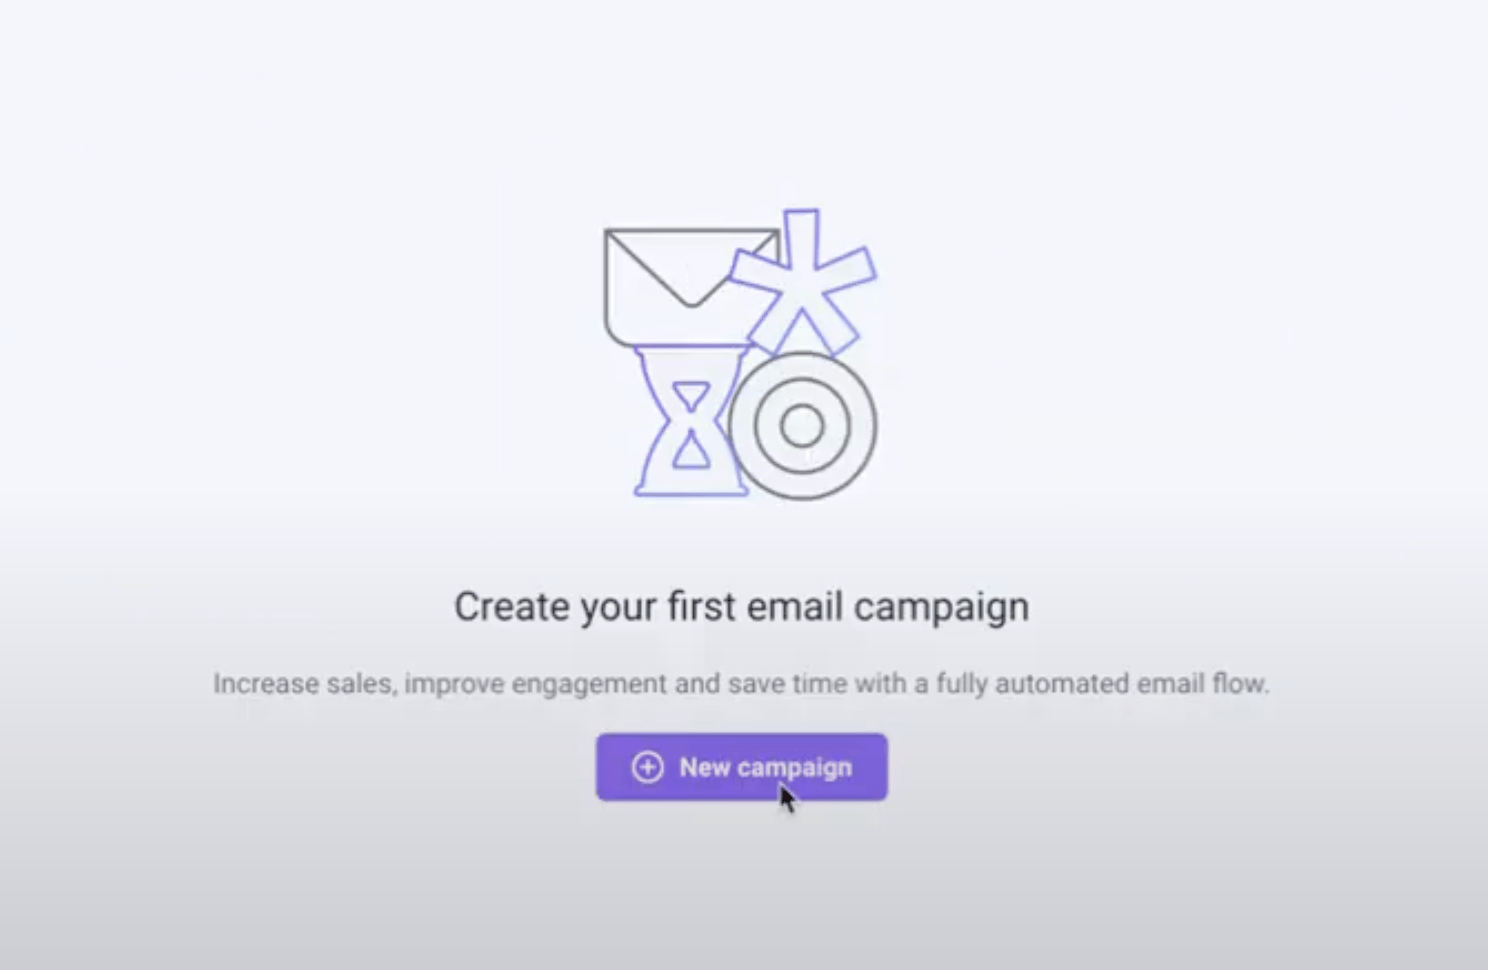
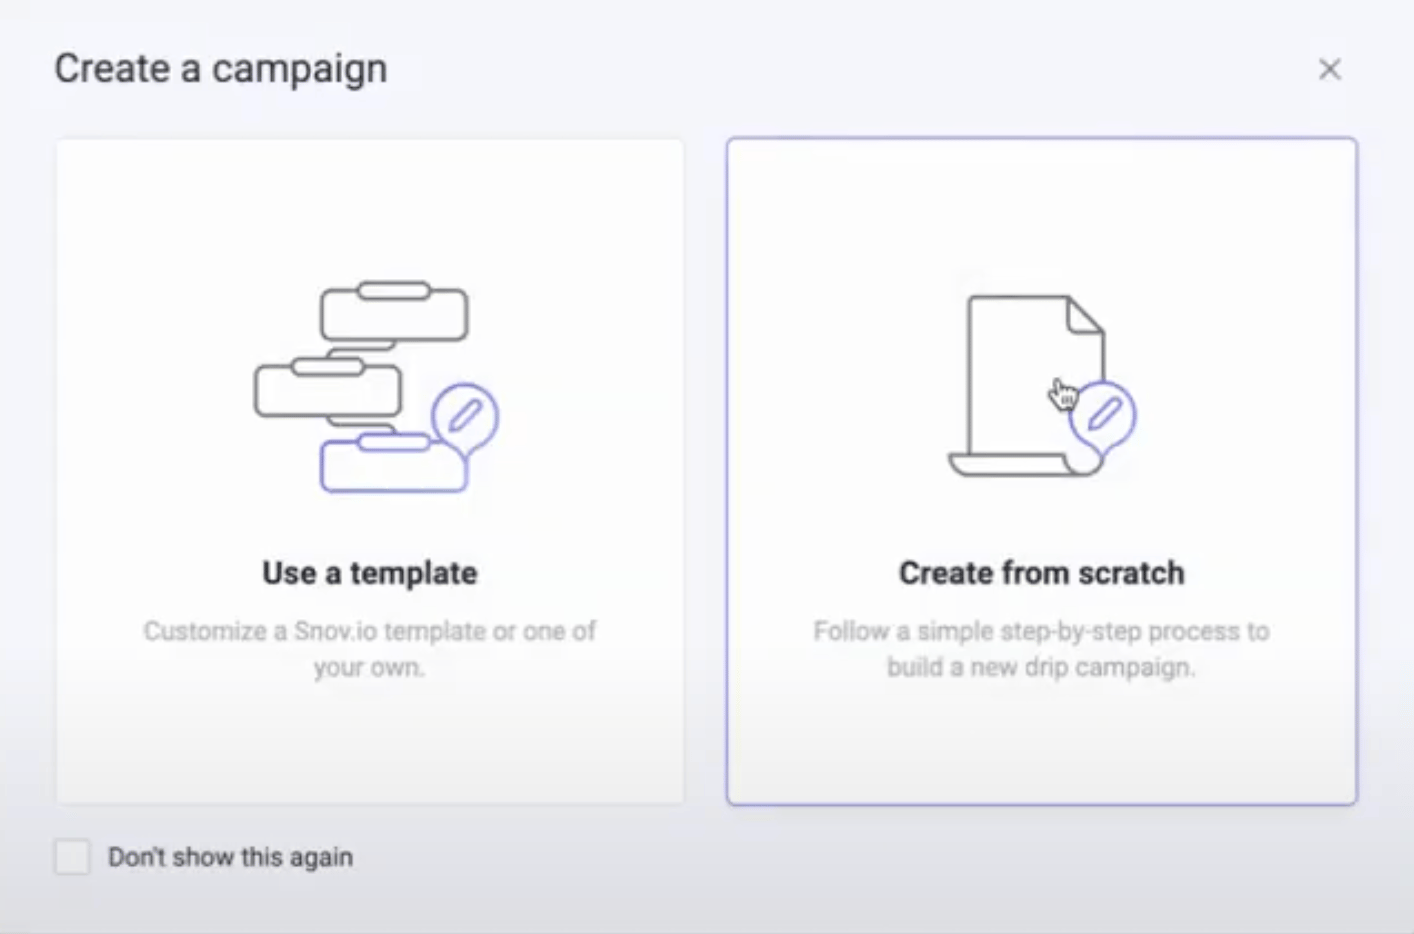
1) Start by creating a new Campaign: Sendspark dashboard with button to create new campaign 2) Choose whether you want to use a Template or start from Scratch: Campaign creation dialog showing Template and Scratch options
  1. Add an email Step:
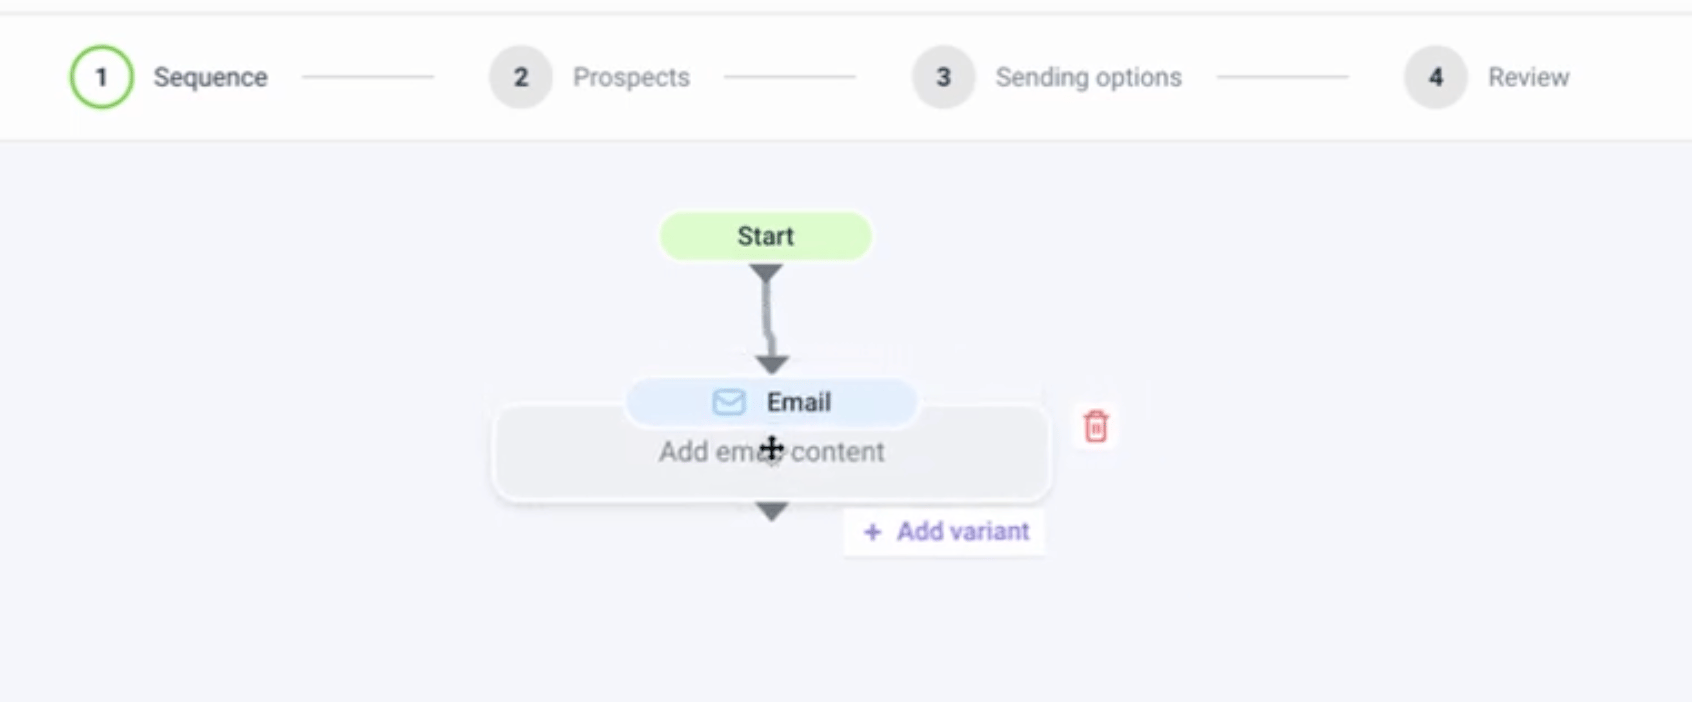
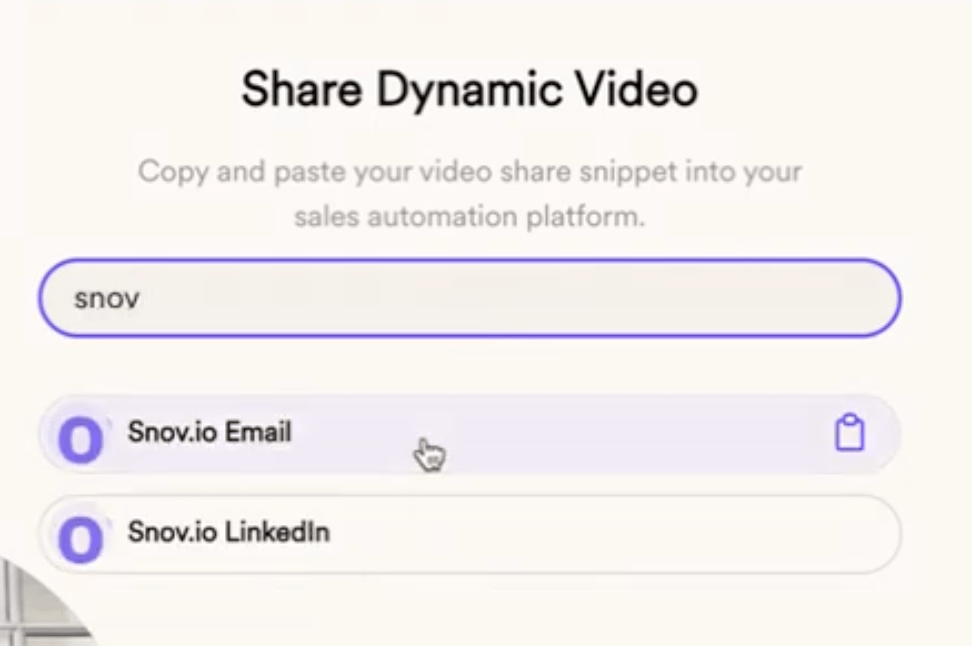
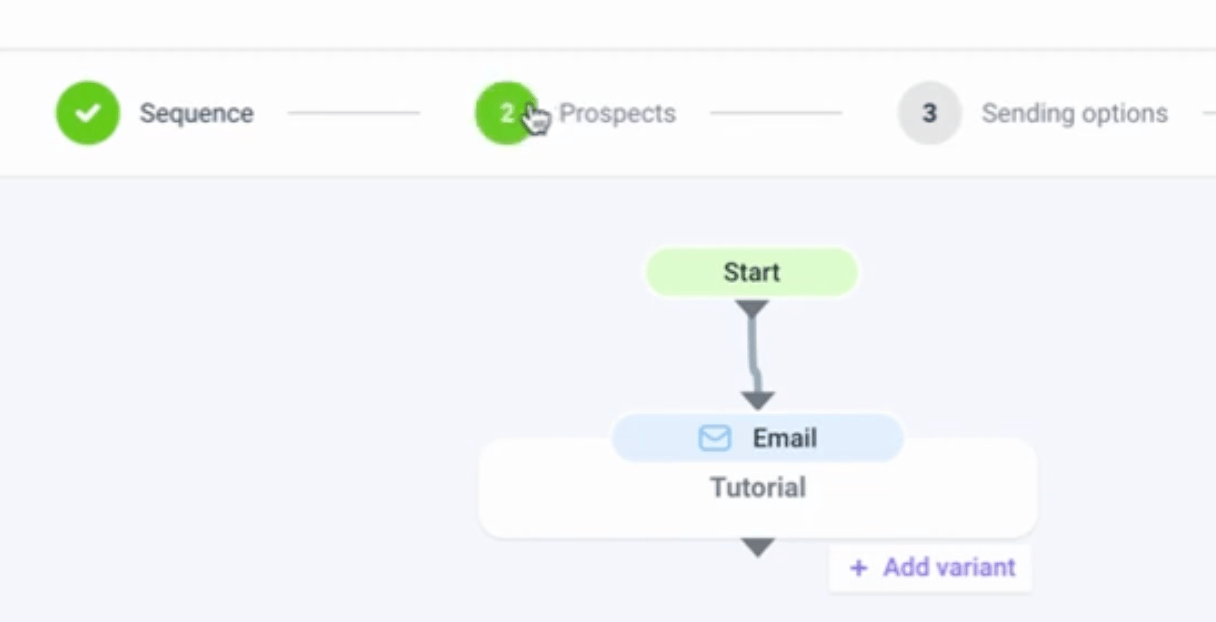
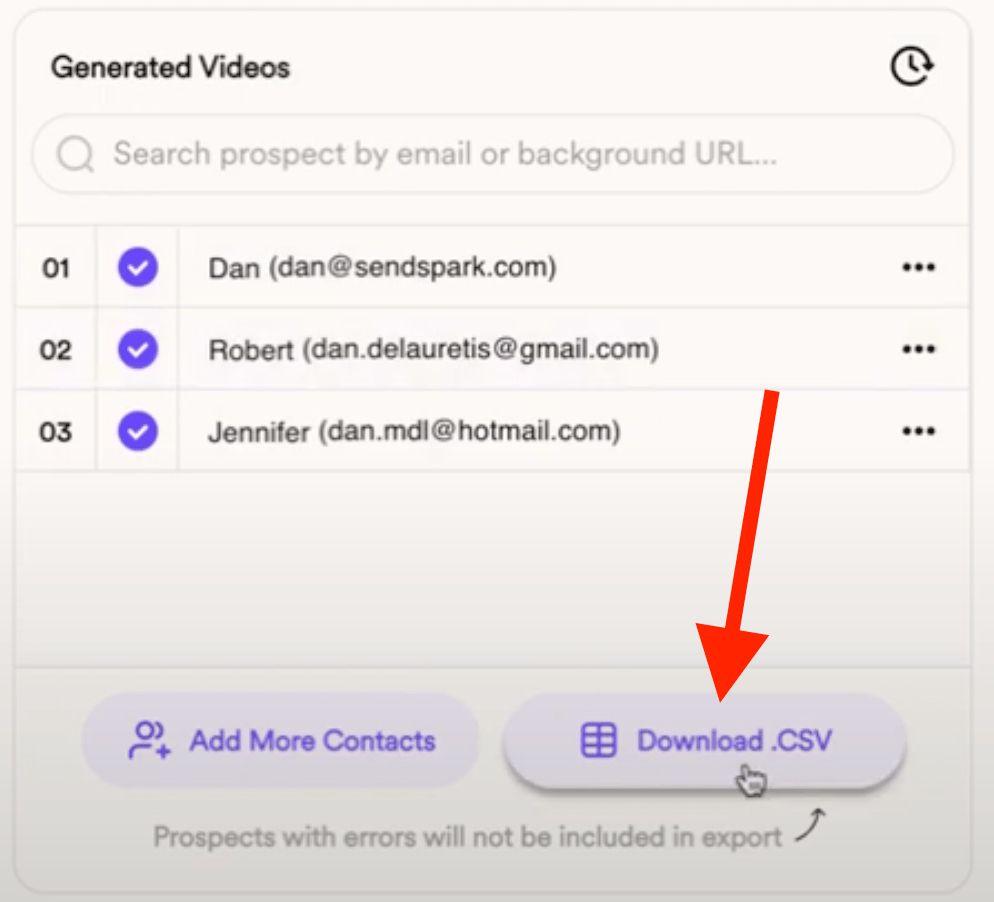
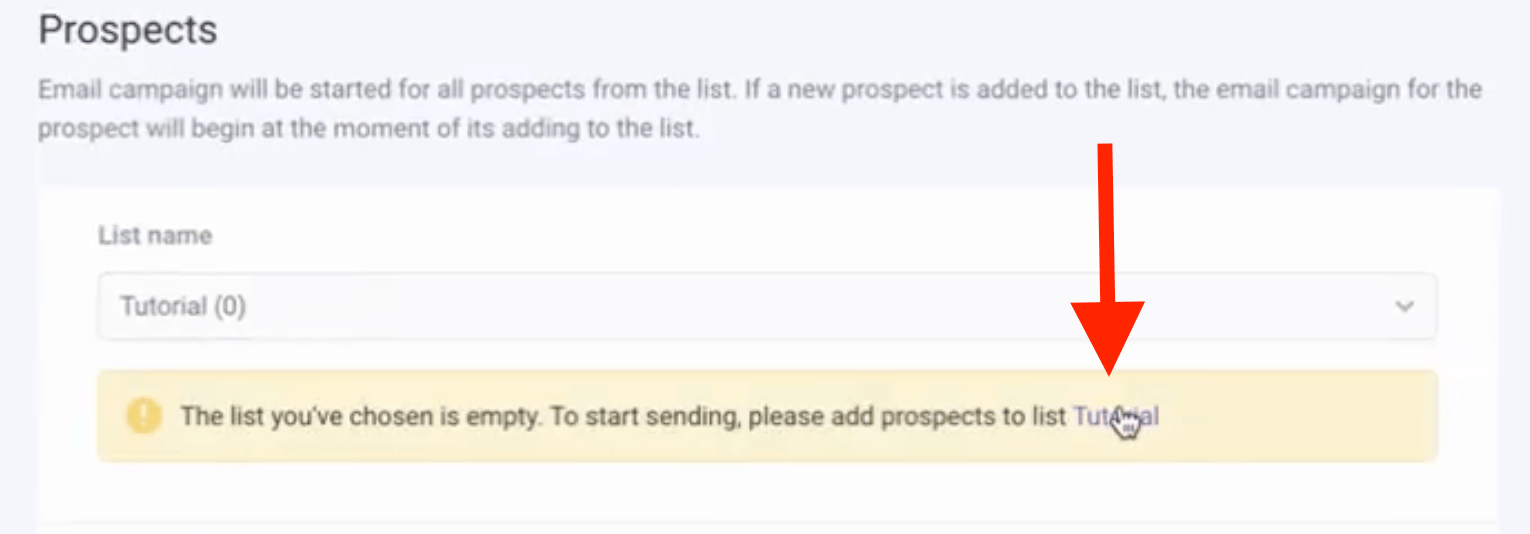
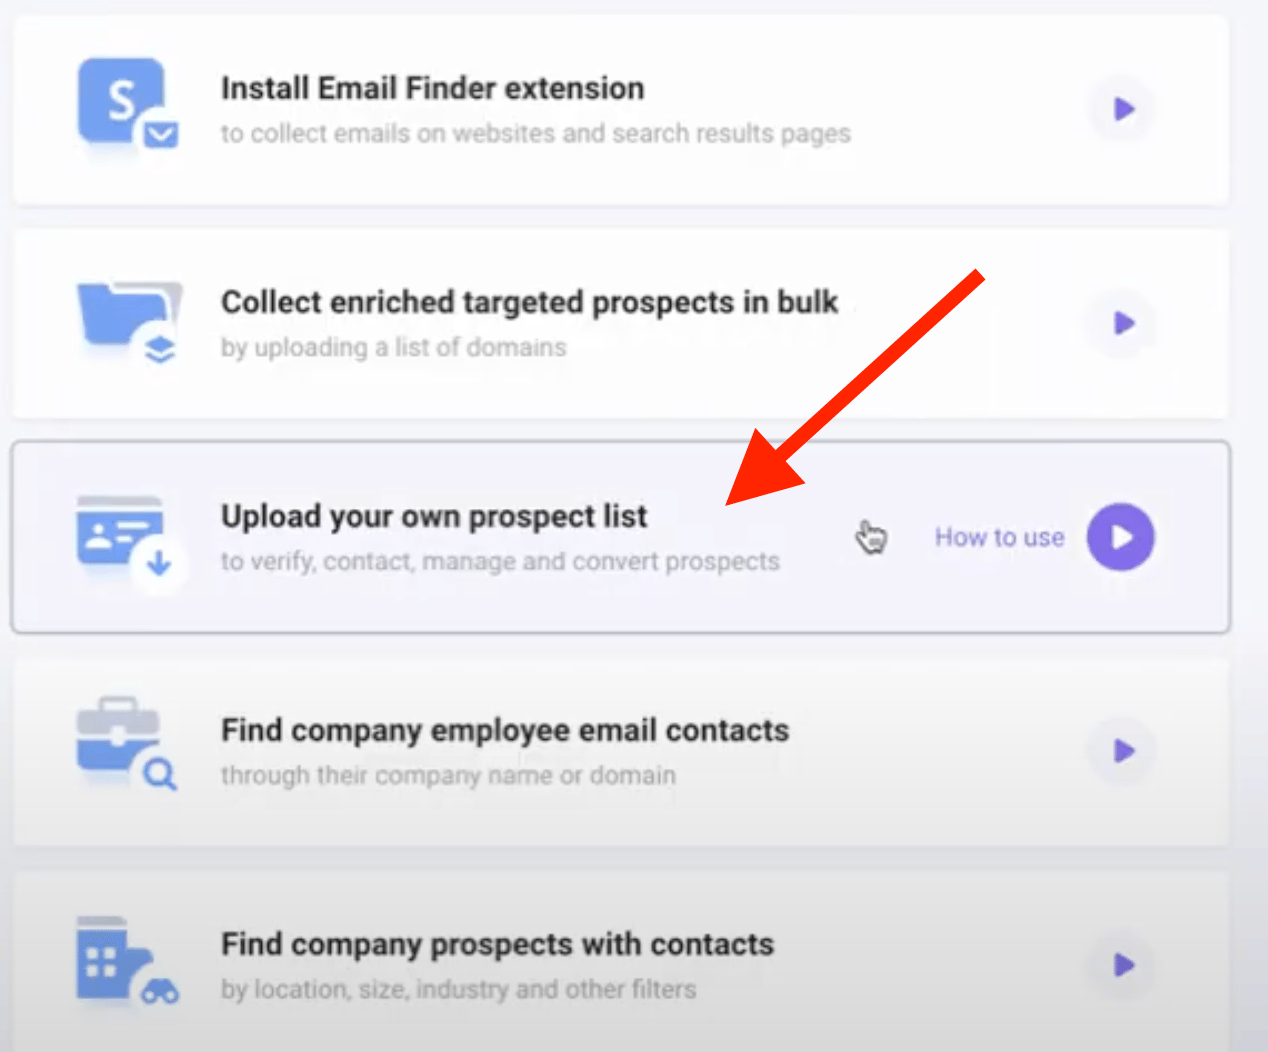
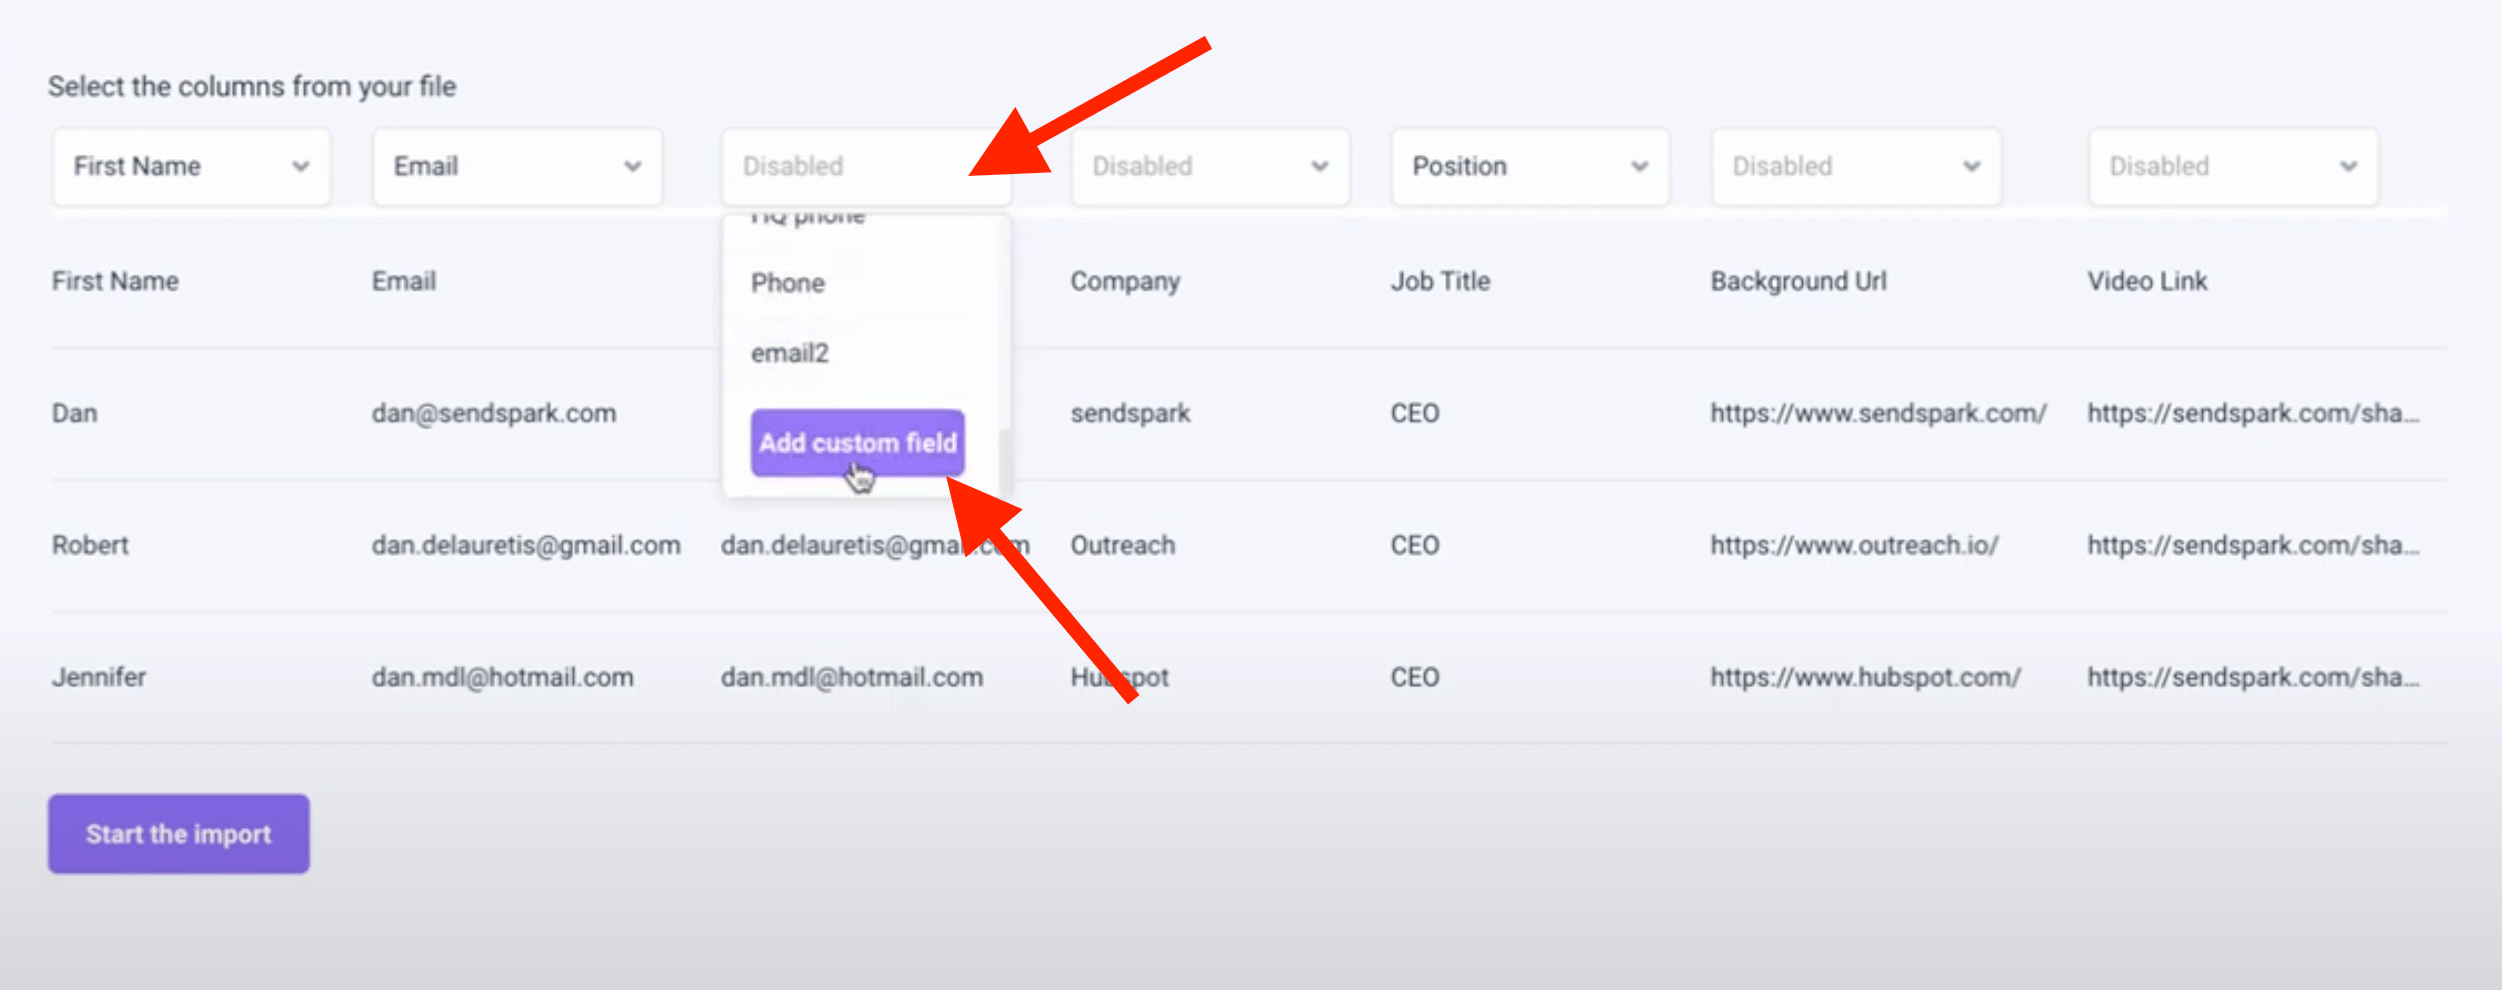
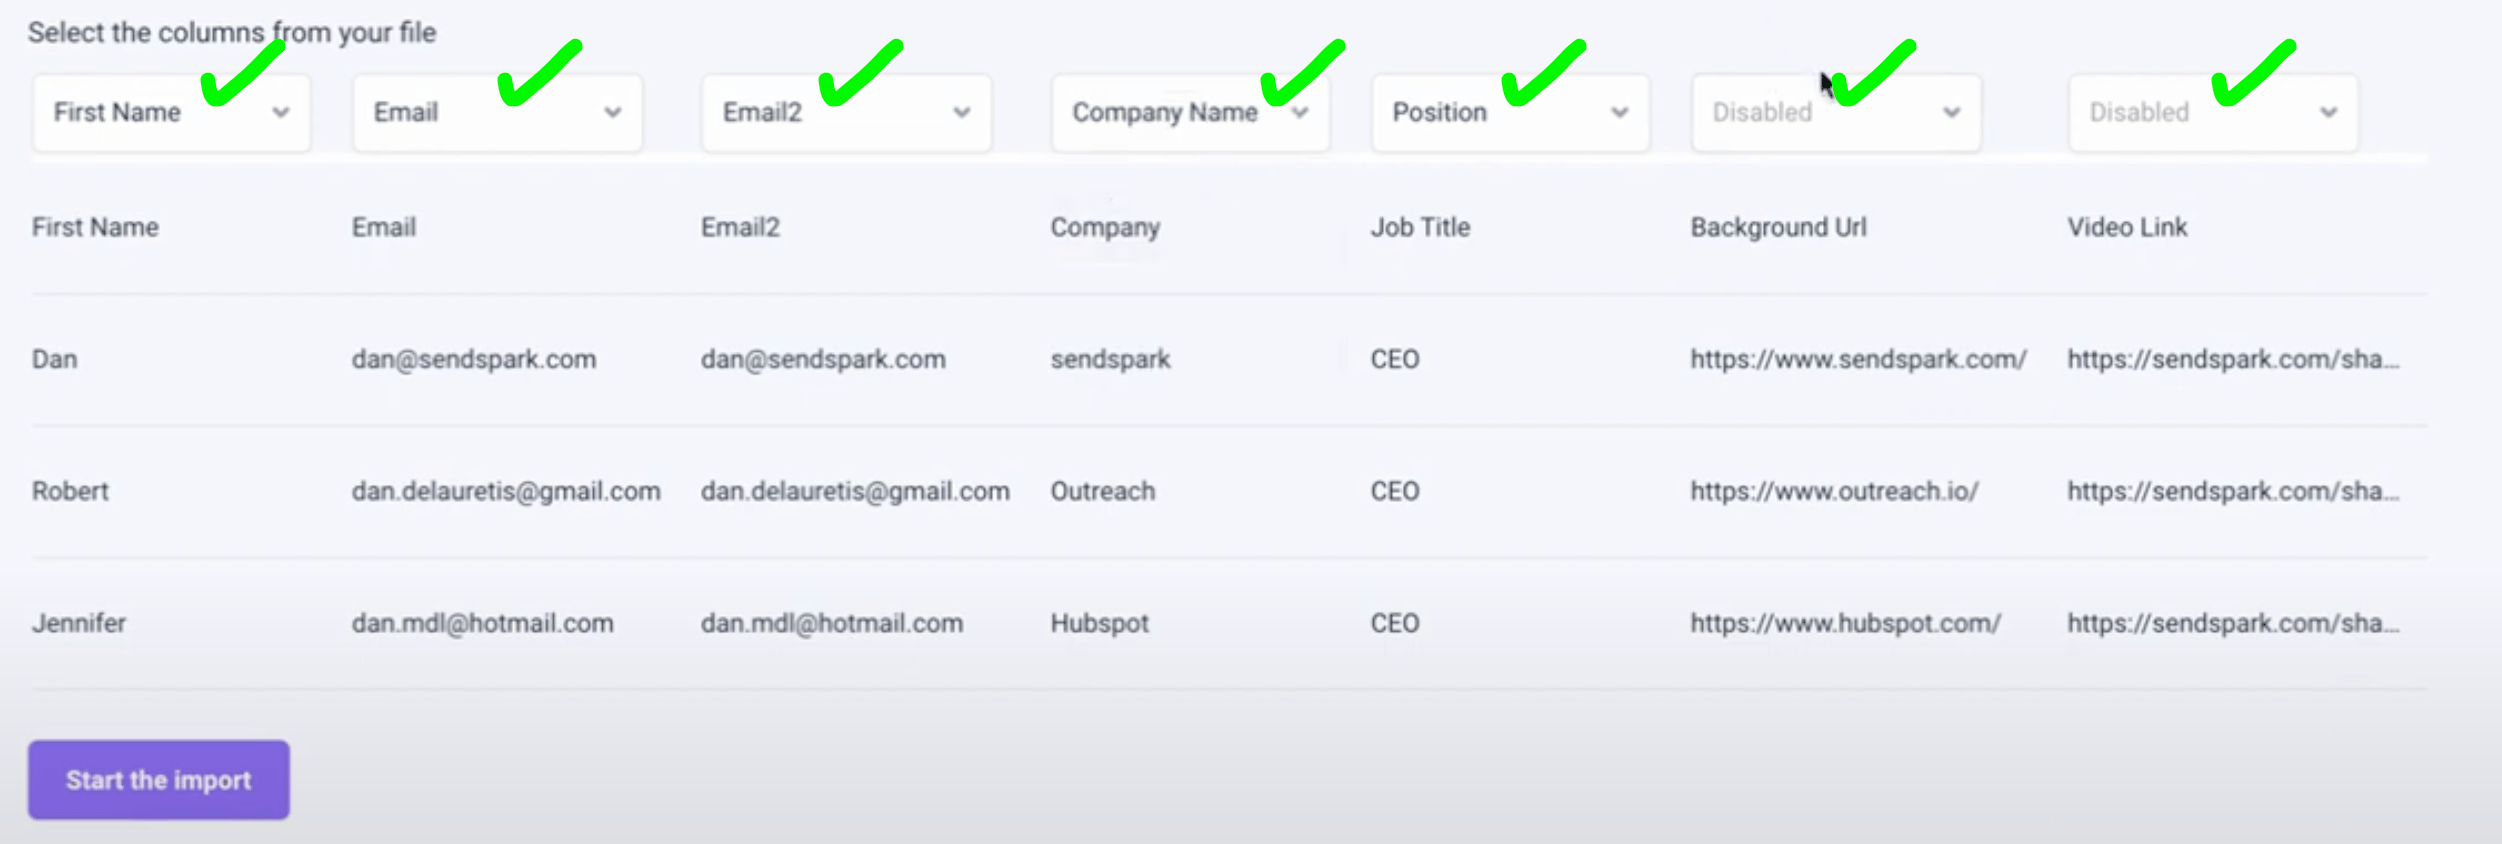
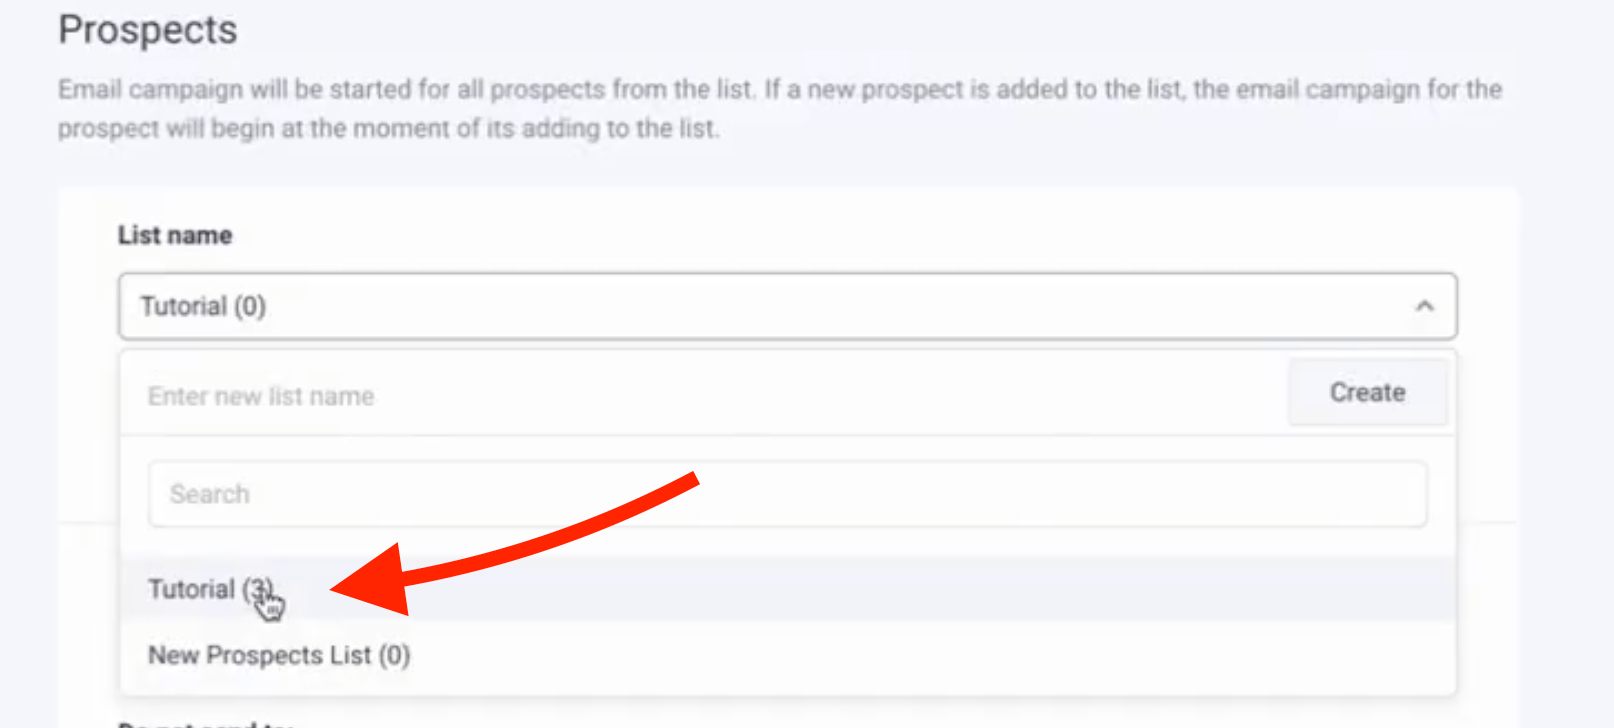
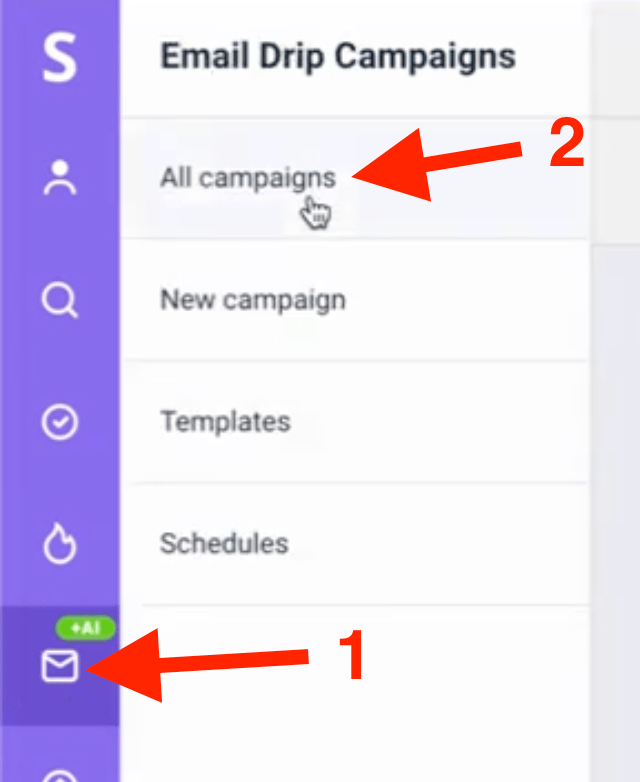
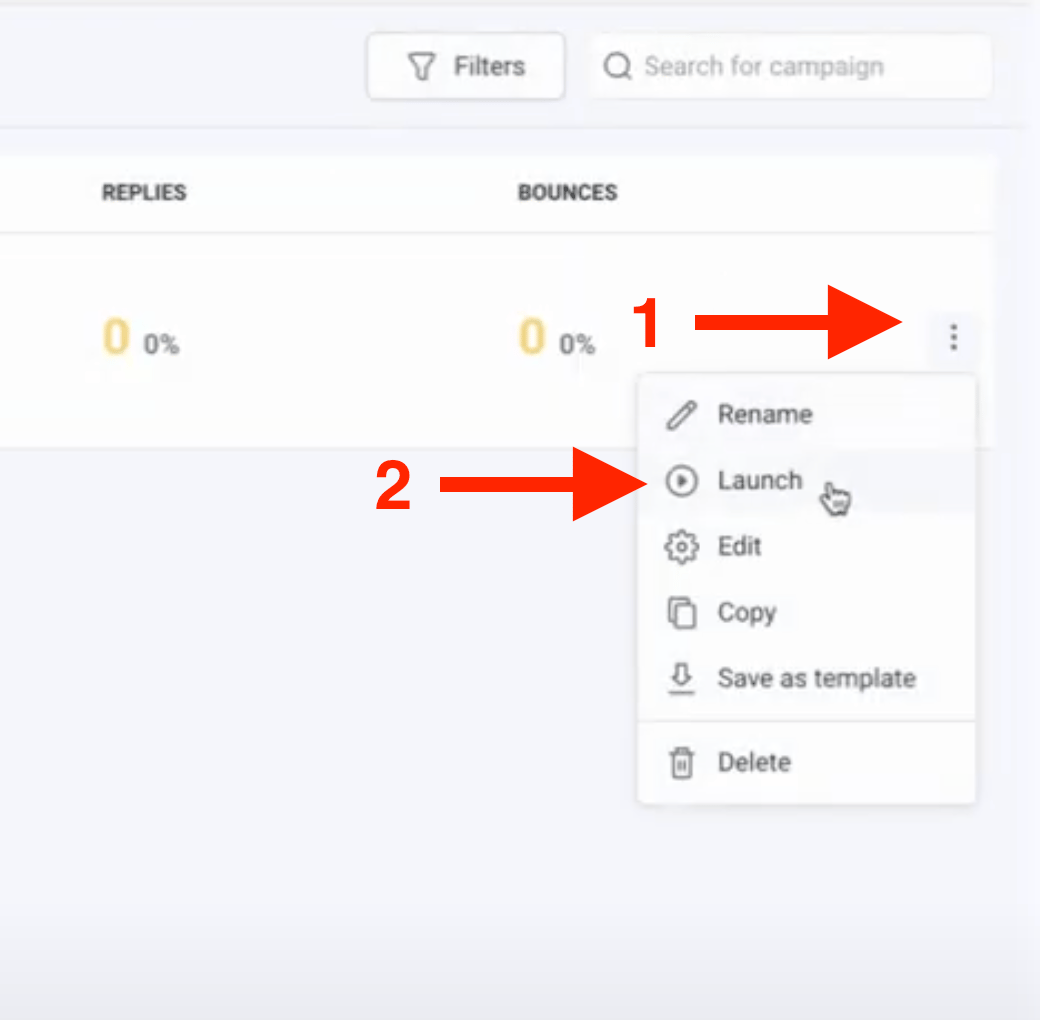
Email step configuration panel in campaign builder 4) Go to your Dynamic Video Campaign and search for Snov.iO and click on the email option to copy the Snippet Code: Snov.io integration search results with email option highlighted 5) Click on the Email Step and paste the Snippet Code straight into the email with CMD+V or CTRL+V to display the Thumbnail. Remember to SAVE the email afterwards: Email editor with Snippet Code pasted and ready to save 6) Continue to the following step “Prospects”: Campaign workflow showing Prospects step selected next 7) Go back to Sendspark and export the clean CSV file: Sendspark export button to download CSV file with contacts 8) Open the CSV file, and duplicate the EMAIL column, but rename the copy with “email2”. The new header needs to be exactly that. If your sheet automatically turns the first letter into a capital letter, no need to worry. It will work anyway. Be sure to save it again maintaining the CSV format. Spreadsheet showing EMAIL column duplicated and renamed to email2 9) Create a new list of prospects to use, and then click on the name entered to access the list: Sendspark prospects list creation form and interface 10) Click on the option UPLOAD, and continue with the process: Prospects list upload dialog with import option button 11) After the contacts have been imported, expand the header of the duplicated email’s column and click on ADD CUSTOM FIELD Custom field header expansion menu with Add Custom Field option 12) Rename it as “email2” with no capital letter regardless of how your sheet software saved it before. Also, select Text on the right option: Custom field creation dialog with email2 name and Text type selected 13) This is how each column should look like. Note that the last 2 columns are DISABLED. You can now click on START THE IMPORT: Imported contacts table showing enabled and disabled columns properly configured 14) Back to Prospects, be sure to select the List we just created with the number of prospects now included: Prospects selection panel showing newly created list with contact count 15) Jump to Sending Options: Campaign workflow panel highlighting Sending Options step
  1. Choose your account, and then move to review to confirm that everything is set the way you want.
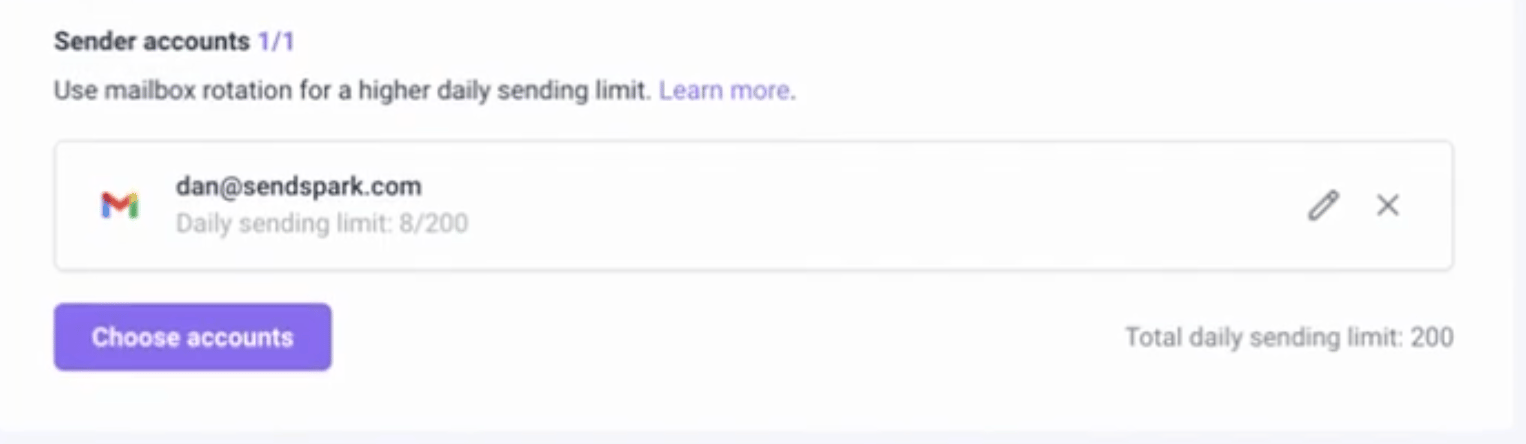
Sendspark account selection and review confirmation screen 17) Once you have selected all your deliverability options, head to the left-hand side panel and access All Campaigns. Left sidebar navigation menu with All Campaigns option highlighted 18) And now head to the three dots on the right to launch the campaign: Campaign action menu showing three dots with launch campaign option

YOU ARE ALL SET!

Frequently asked questions

In Sendspark, go to your Dynamic Video Campaign, search for Snov.io, and click the email option to copy the snippet code.
After exporting Sendspark’s clean CSV, duplicate the EMAIL column and rename the copy exactly “email2.” Then add a matching custom field named “email2” (Text type) when importing prospects in Snov.io.
If your spreadsheet software auto-capitalizes the first letter in the CSV header, it will still work. But when you create the custom field in Snov.io, name it “email2” with no capital letter.
Export the clean CSV file from Sendspark and use that. It contains the contacts prepared for your campaign.
Open All Campaigns from the left-hand panel, then click the three dots on the right of your campaign and launch it.
Updated July 2026.