

Key takeaways
- Sendspark shares dynamic video campaigns into HubSpot via Share Campaign → HubSpot Sales Hub, choosing the Hubspot Sales Hub option.
- The Hubspot Sales Hub option has fewer customization features, like resizing the video thumbnail.
- If a contact does not have a personalized video, a fallback background (e.g., Sendspark) will be used.
- Enrolled contacts’ emails must match the ones associated with your dynamic video campaign.
This guide will walk you through how to share a dynamic video campaign using HubSpot’s sales sequences.
Step 1: Create a New Sequence
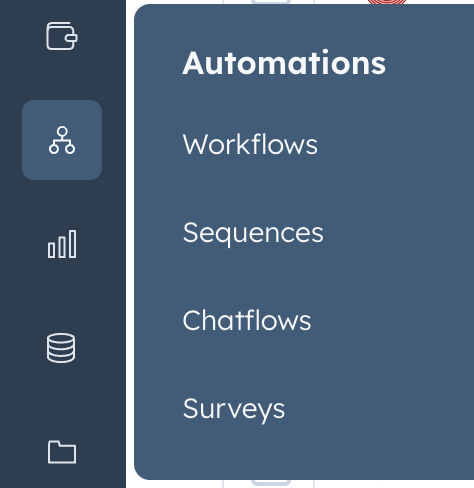
- Navigate to the Sequences section in HubSpot.
- Click on Create and select Automated Email.
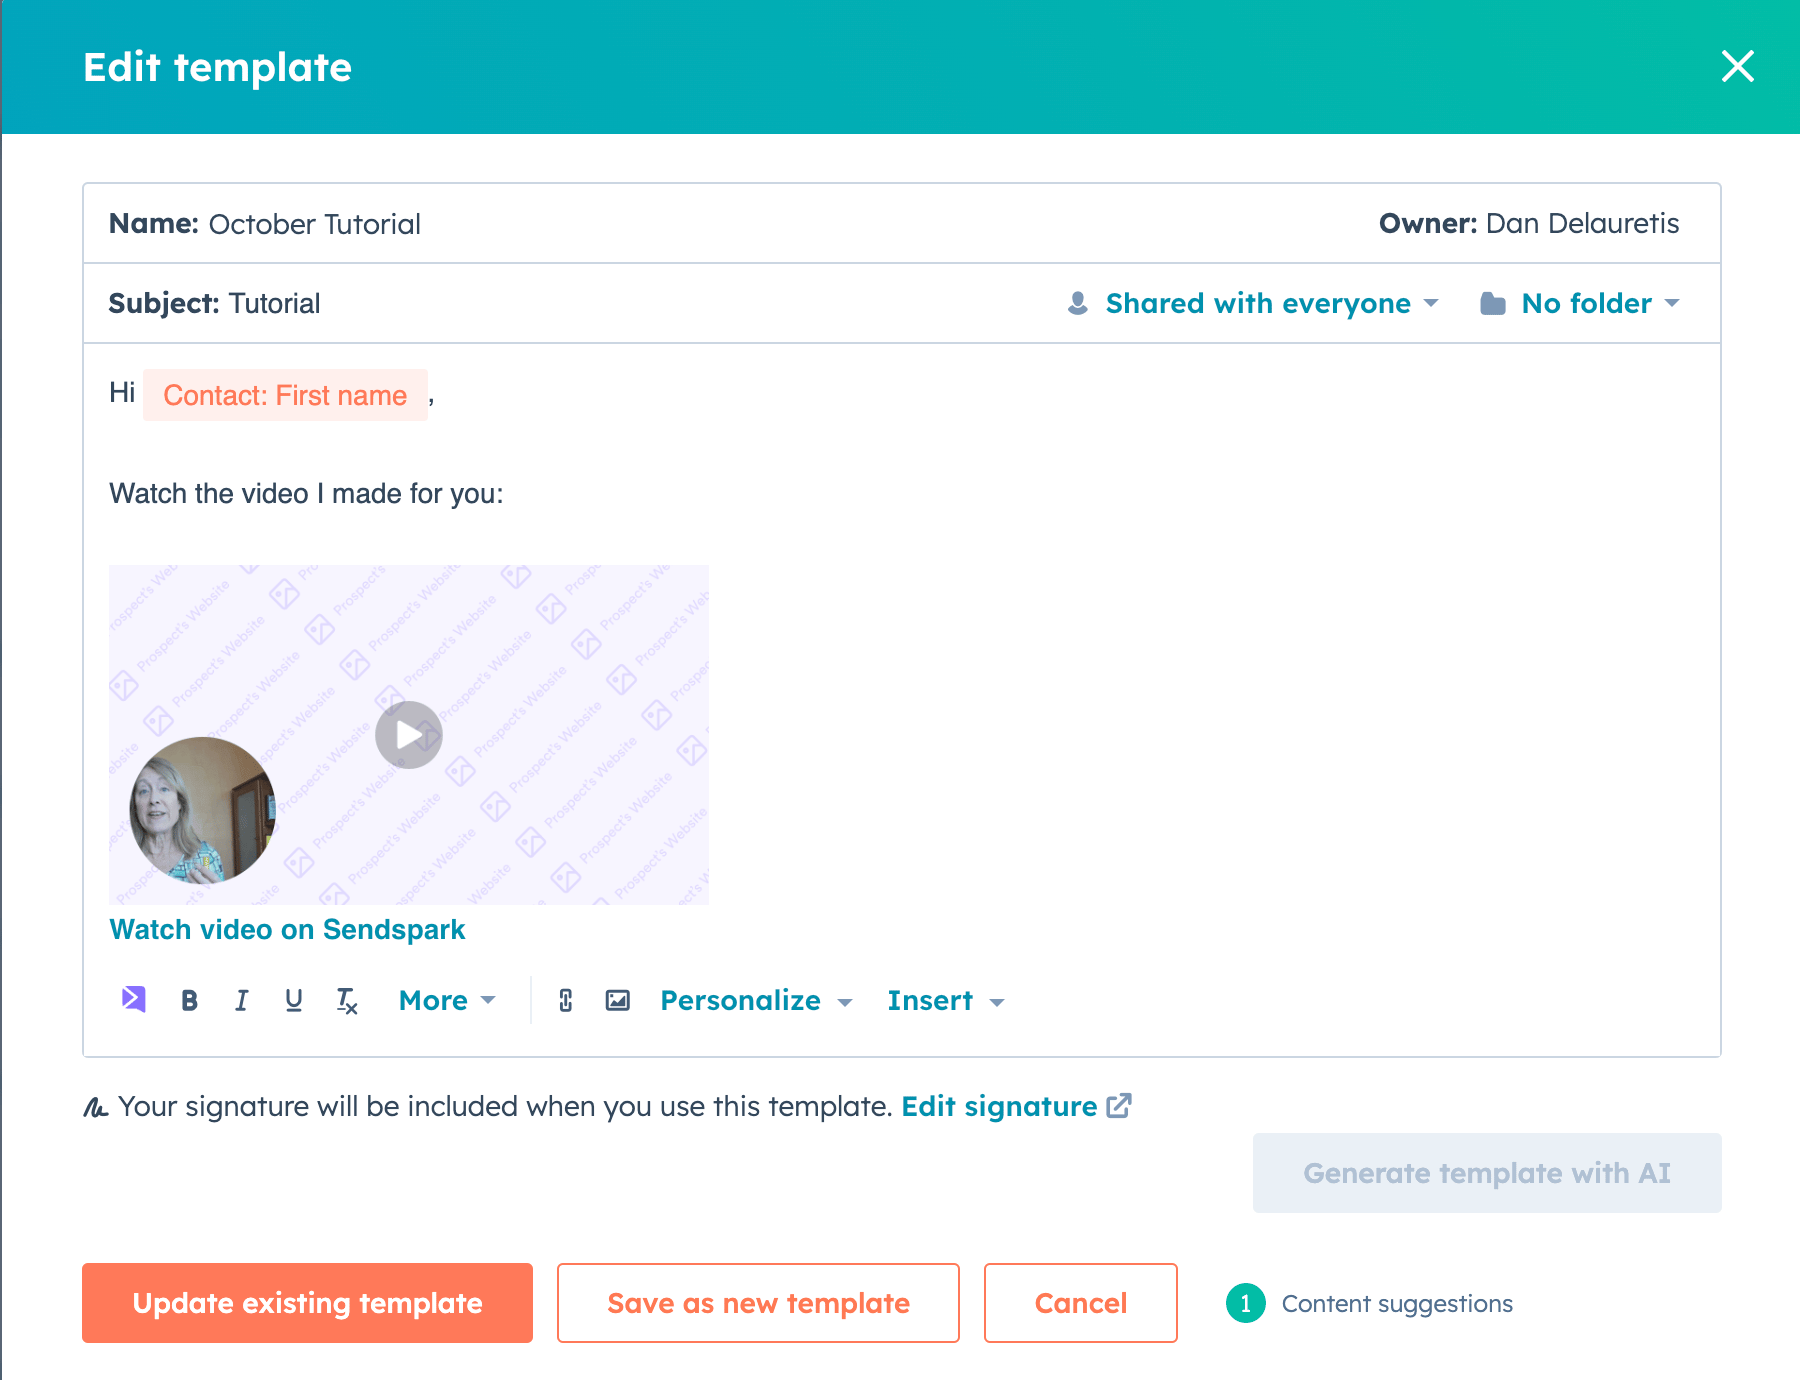
- You’ll be prompted to create an email template.
- Give your template a name (e.g., “October Tutorial”).
- Personalize your email with tokens like First Name (e.g., “Hey {First Name}, watch the video I made”).
Step 2: Add Your Dynamic Video
- Access your Dynamic Video Campaign. Ensure the campaign is ready to be shared.
- Click Share Campaign and select HubSpot Sequences Hub
- From the options, choose Hubspot Sales Hub (Note: Marketing Hub is covered in a different tutorial).
- Copy the snippet code and paste it into the email template.
Step 3: Save and Finalize the Template
- Click Update existing template, or Save as new template. You can leave the sharing dropdown as it is or make additional adjustments if necessary.
- The first step of your sequence is now ready.
Step 4: Enroll Contacts in the Sequence
- Click Enroll to start adding contacts.
- Ensure that the correct contacts are selected, and their emails match the ones associated with your dynamic video campaign.
- If a contact does not have a personalized video, a fallback background (e.g., Sendspark) will be used.
Step 5: Create and Filter a Contact List (Optional)
- If needed, you can create a new list of contacts to enroll in the sequence:
- Go to the Lists section and create a new list (e.g., “October Tutorial Test”).
- Apply filters like company name or other criteria to ensure you target the correct audience.
- Save the list and return to the sequence to enroll the contacts.
Step 6: Launch the Campaign
- Once you’ve enrolled all necessary contacts, you can set the campaign to Send Now or schedule it to Send Later.
- Refresh the sequence page to confirm all contacts are enrolled.
Frequently asked questions
What happens if a contact doesn't have a personalized video?
What happens if a contact doesn't have a personalized video?
A fallback background (e.g., Sendspark) will be used for that contact.
Can I schedule when the sequence sends?
Can I schedule when the sequence sends?
Yes. Once you’ve enrolled all necessary contacts, you can set the campaign to Send Now or schedule it to Send Later.
Do I need to create a contact list?
Do I need to create a contact list?
It’s optional. If needed, you can create a new list under the Lists section, apply filters like company name, then return to the sequence to enroll those contacts.