

Key takeaways
- Create one Dynamic Video campaign in Sendspark to act as the template for every AI-personalized video.
- Copy the Salesloft snippet from Share Campaign and paste it directly into your Salesloft cadence email where you want the video to appear.
- Add the video on Day 2 or later of the cadence so each video has time to generate before the email sends, which also helps deliverability.
- Build a Sendspark Agentic Workflow (trigger: Salesloft “Person Updated,” filtered to your cadence; action: Sendspark Create dynamic video) so videos generate automatically on enrollment.
- Add a second workflow, triggered by Sendspark New Video Generated, with Salesloft Find Person then Update Person actions. That writes the generated video back onto the lead’s Salesloft record so the cadence snippet resolves to the right video. It assumes the lead already exists in Salesloft.
How to Create Personalized Videos For Salesloft Cadences with AI
1. Create Dynamic Video Campaign in Sendspark
This will act as the template for all AI-personalized videos created. Learn more about creating dynamic videos here.2. Add Video Placeholder to Salesloft Email Template
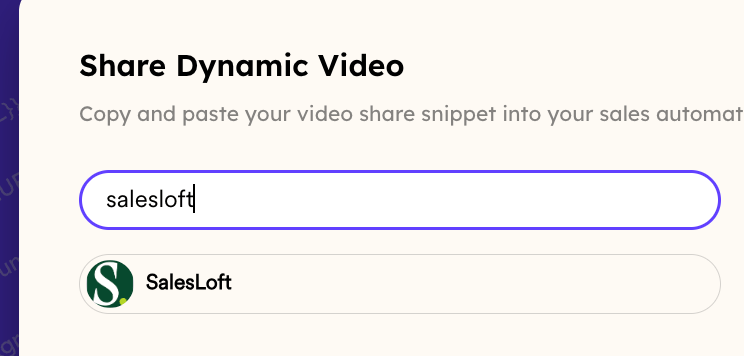
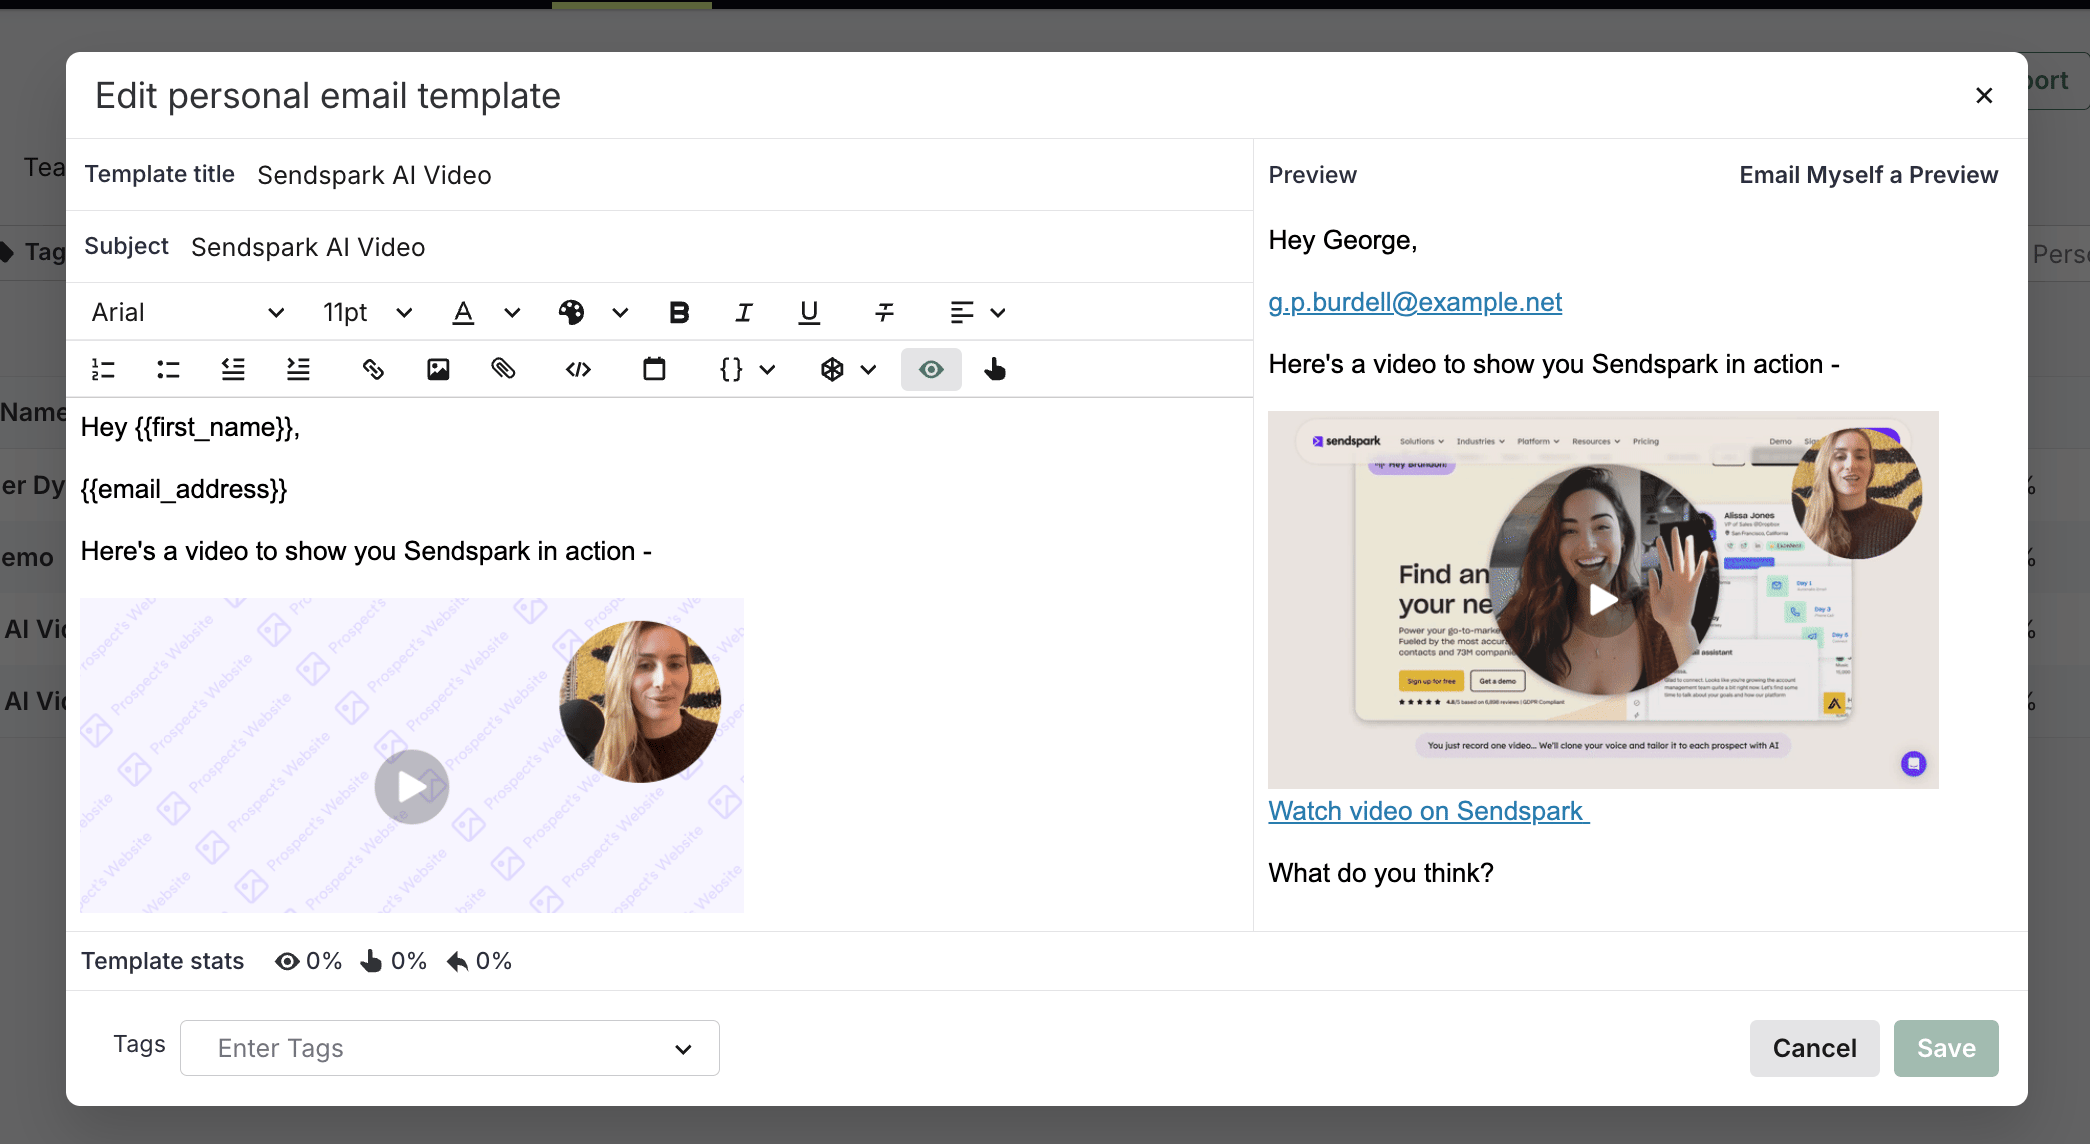
You can add this placeholder snippet to your snippet to your Salesloft email cadence to mark where the video should go. Go to your Dynamic Video Campaign and click “Share Campaign”
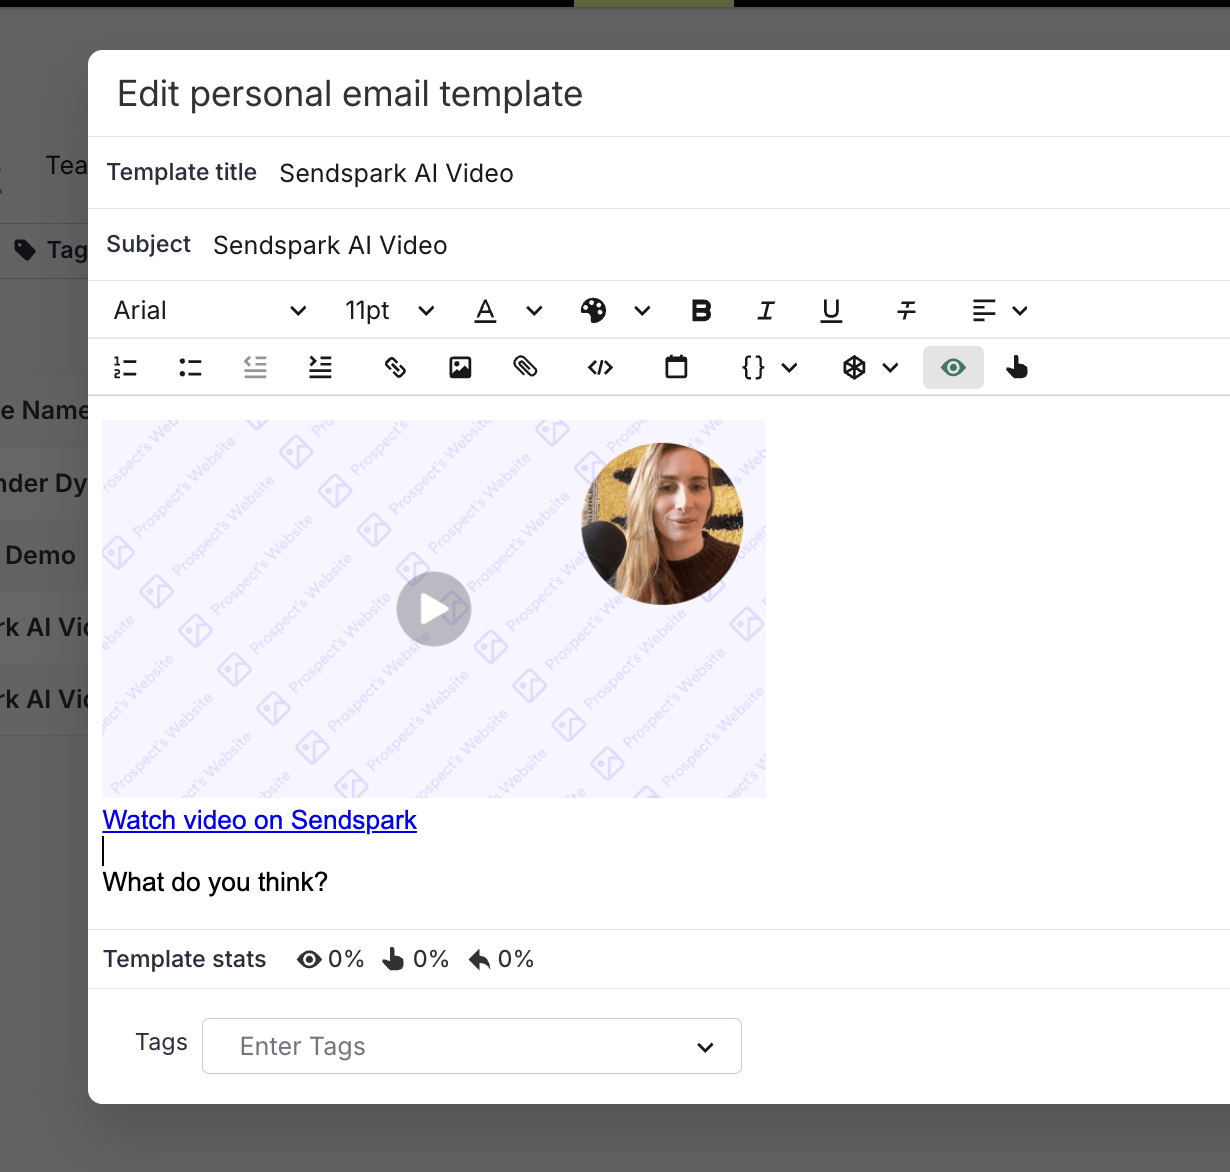
**Pro tip:**if you want to preview how this will look for real contacts in Salesloft, make a Sendspark video for George (g.p.burdell@example.net). This is the default contact that Salesloft uses, so you can use it for testing.
3. Create Agentic Workflow to Create Dynamic Video When Someone Gets Added to Salesloft
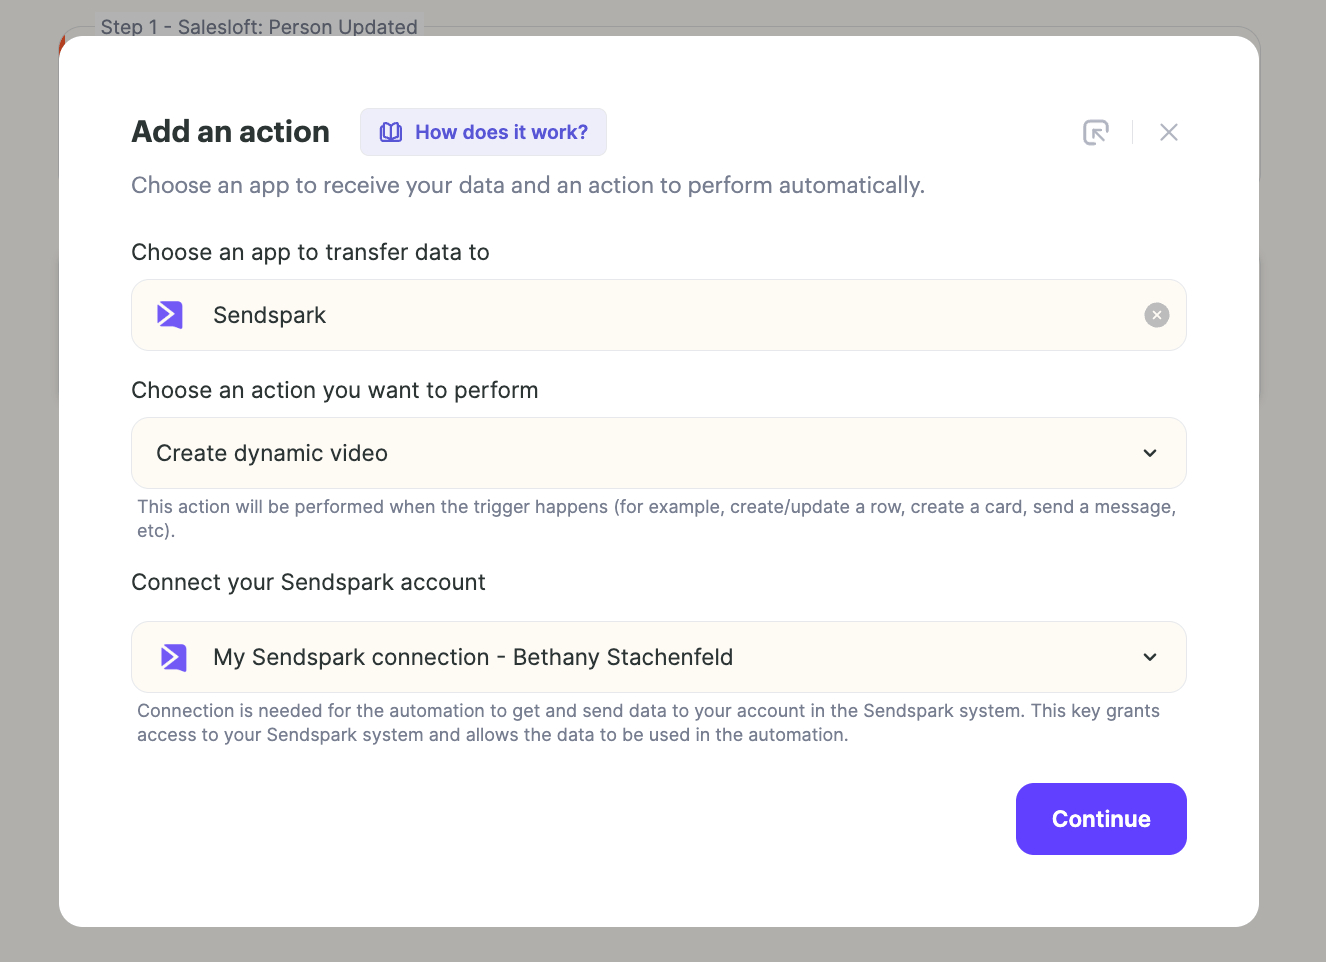
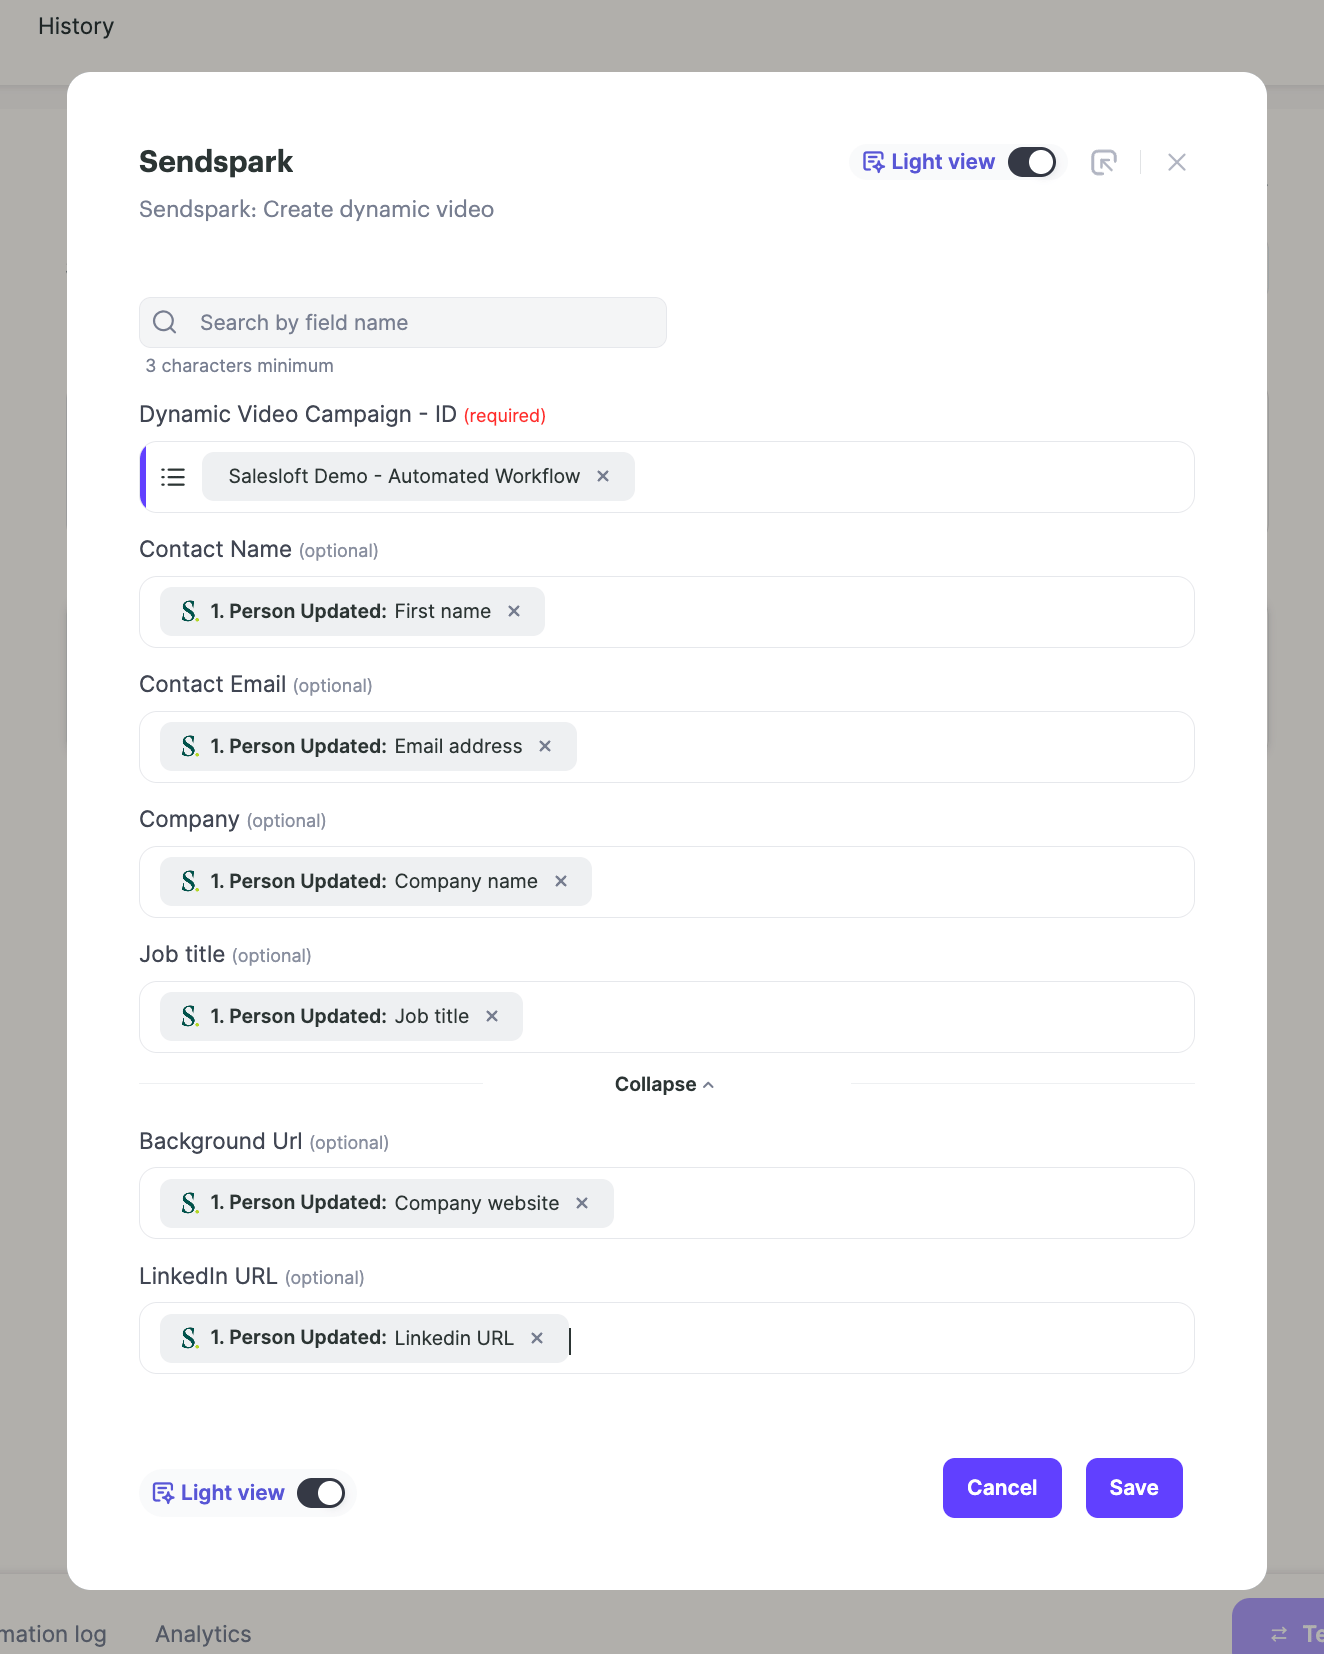
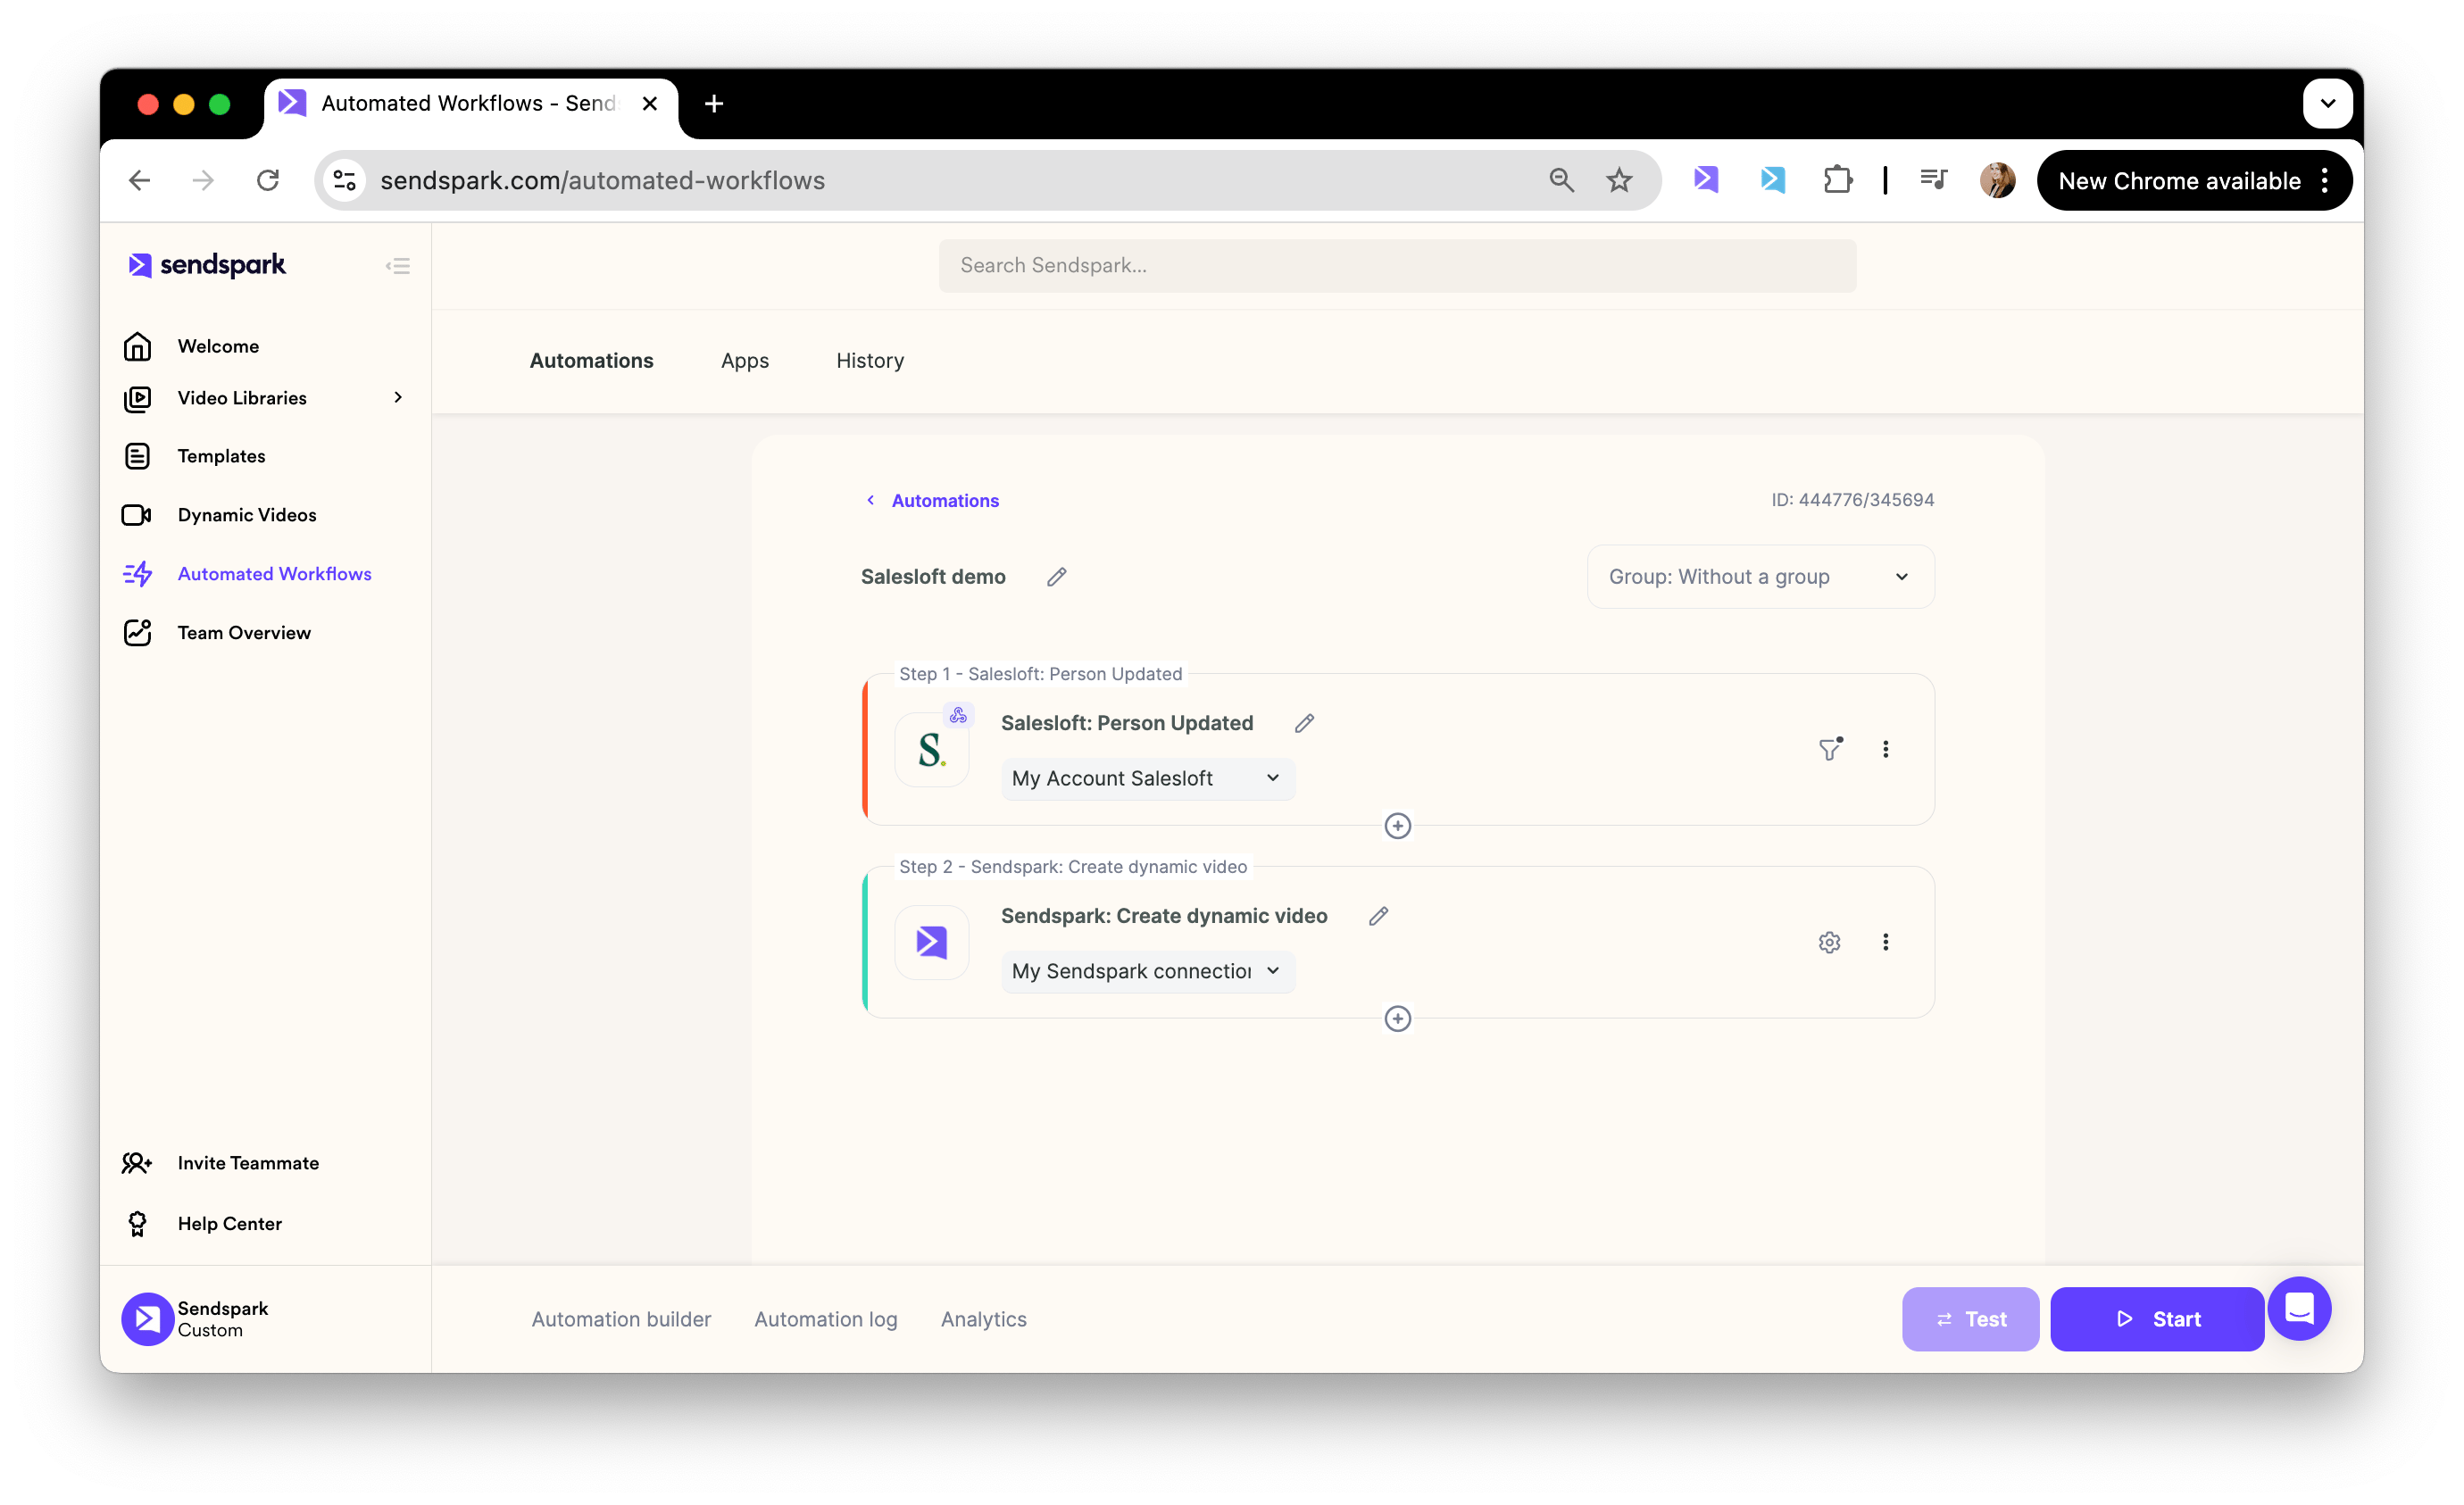
Now, we want to make sure that whenever someone gets enrolled in this email sequence, their video automatically gets generated for them. Create a new Agentic Workflow in Sendspark.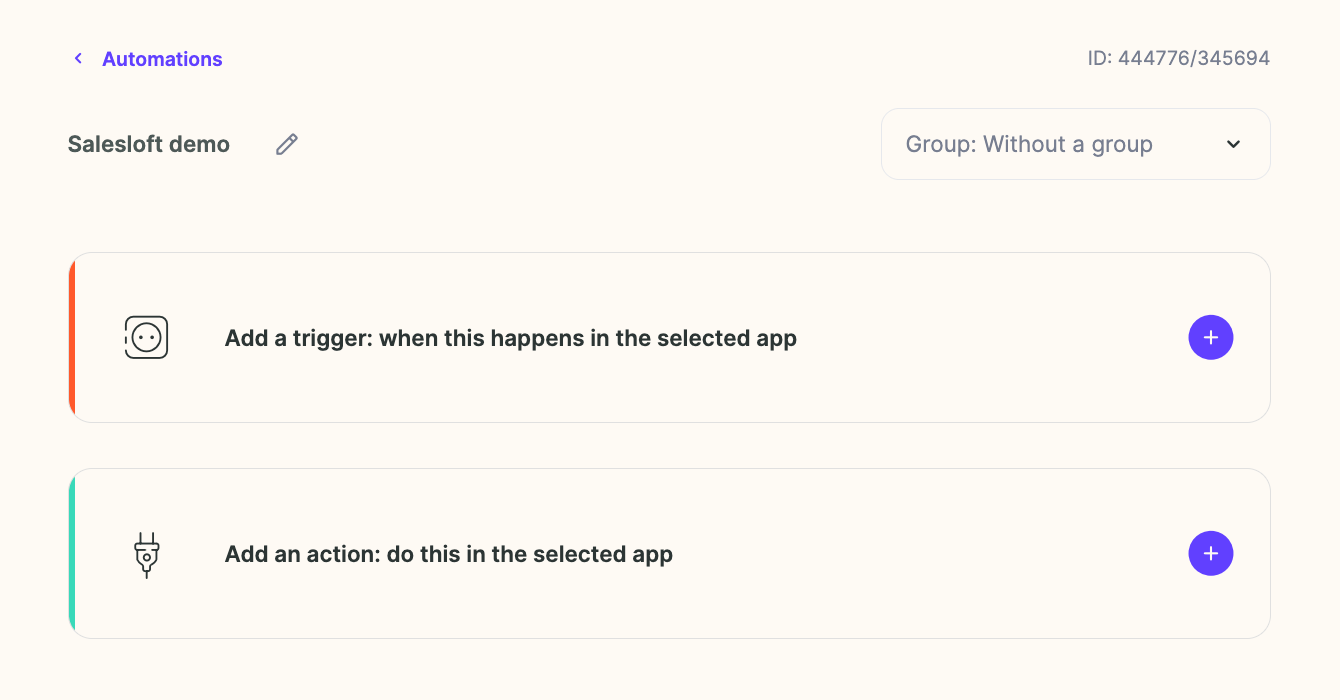
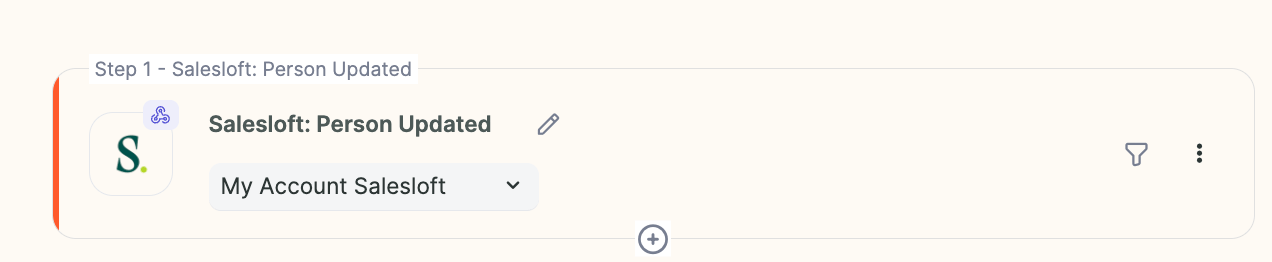
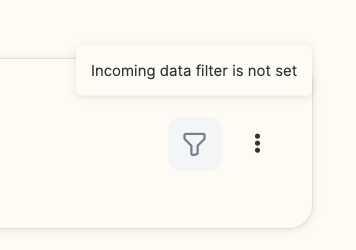
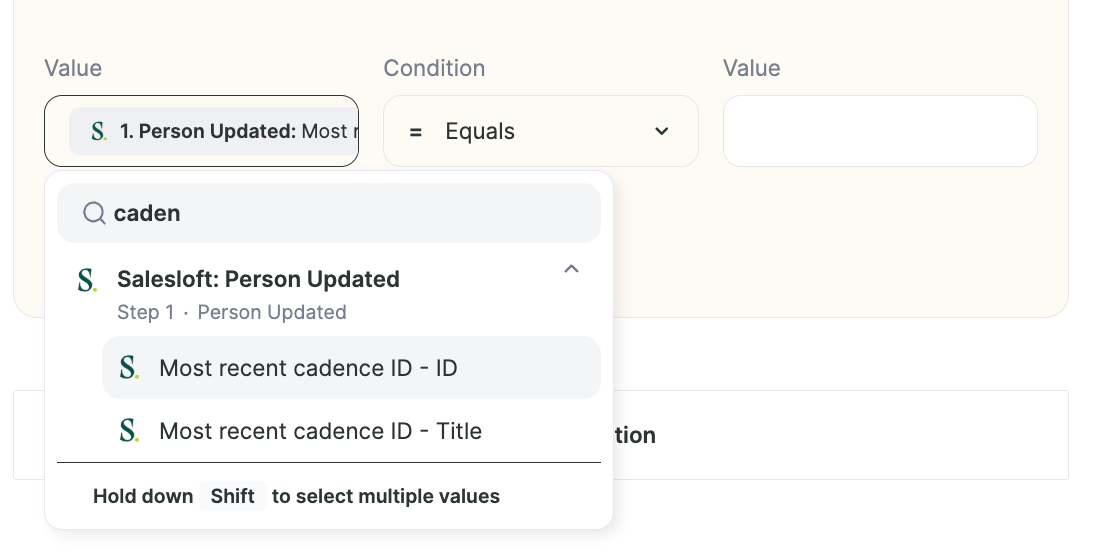
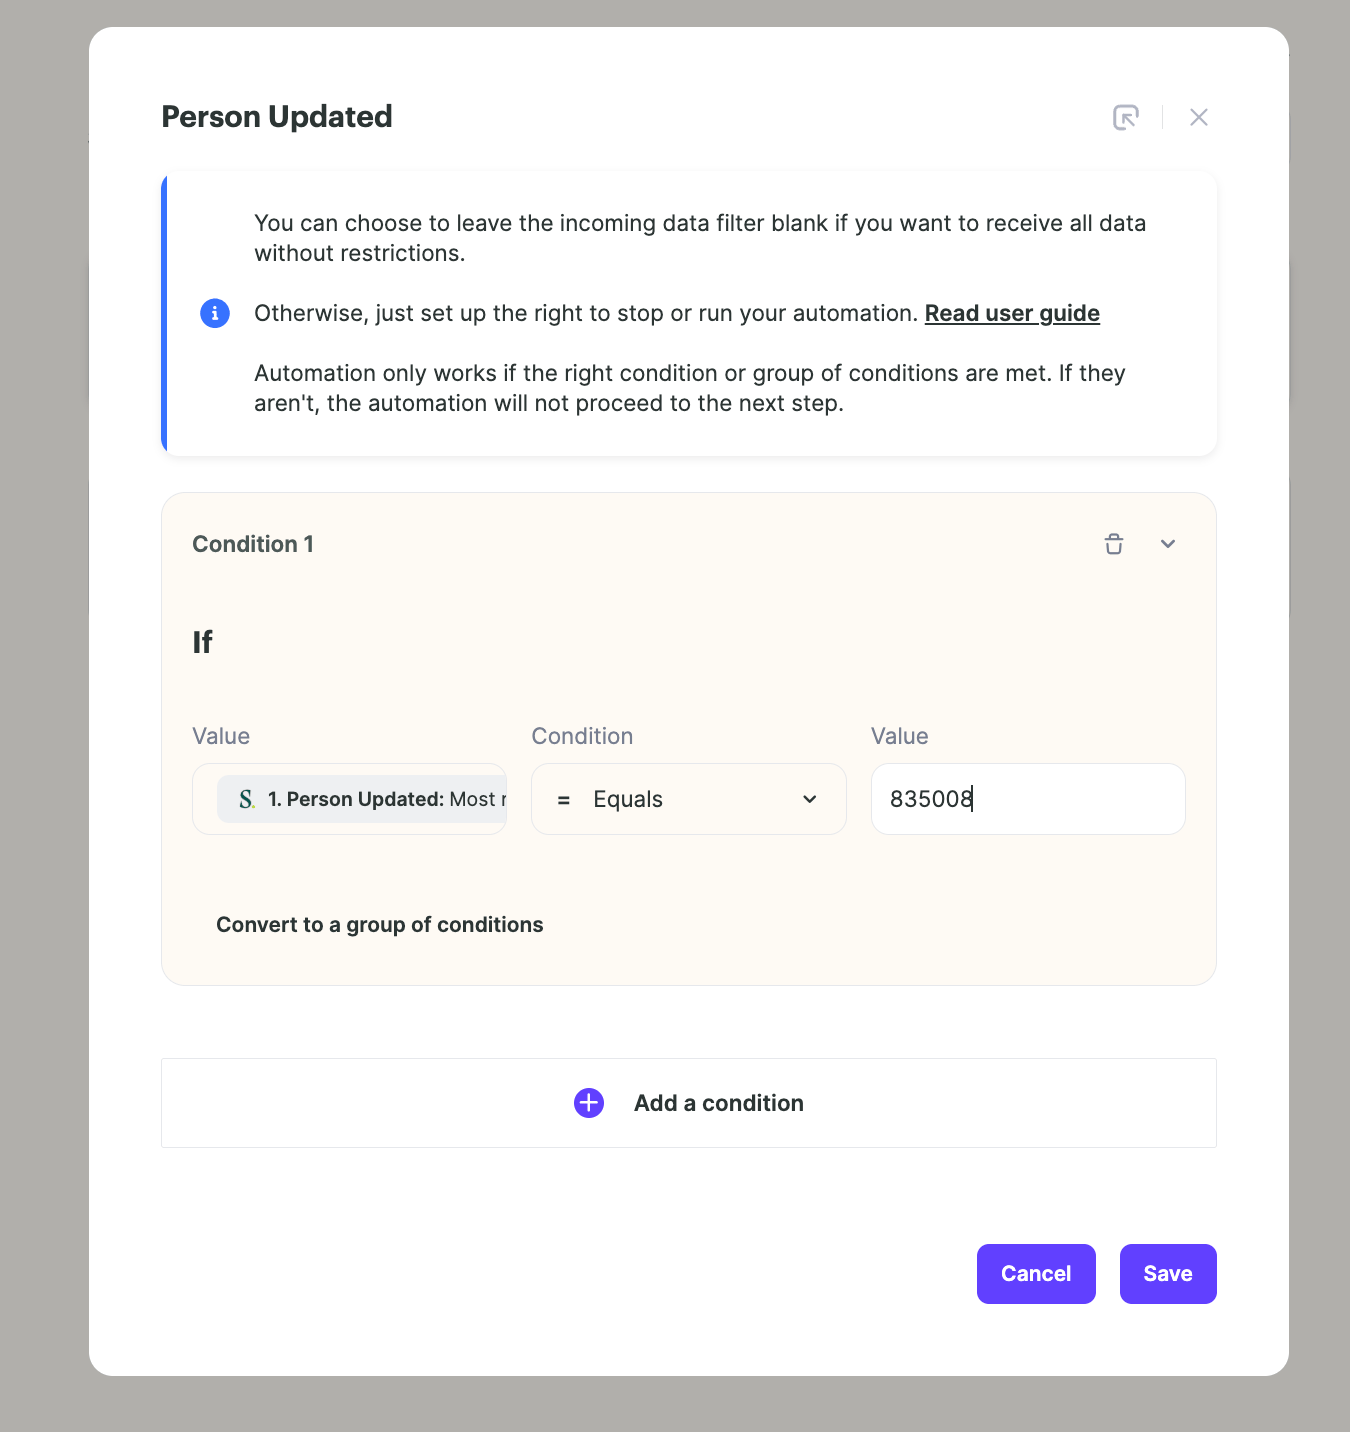
4. Build a second workflow to write the video back to Salesloft
The workflow above generates a video when someone is enrolled. A second, separate workflow sends the finished video back the other way, onto the lead’s Salesloft record, so the snippet in your cadence email resolves to the right video for the right person.This is a new automation, not more steps on the first one. It has to be, because
it can only run once the video exists, so it is triggered by the video being
generated rather than by the enrolment.
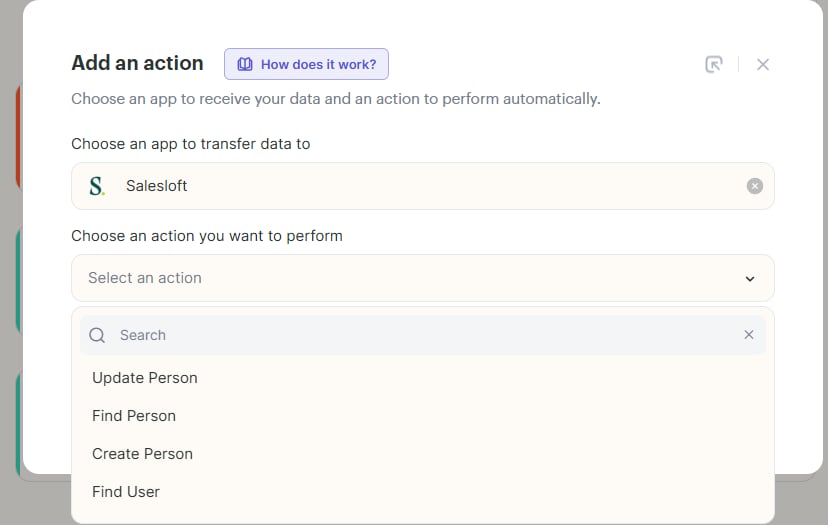
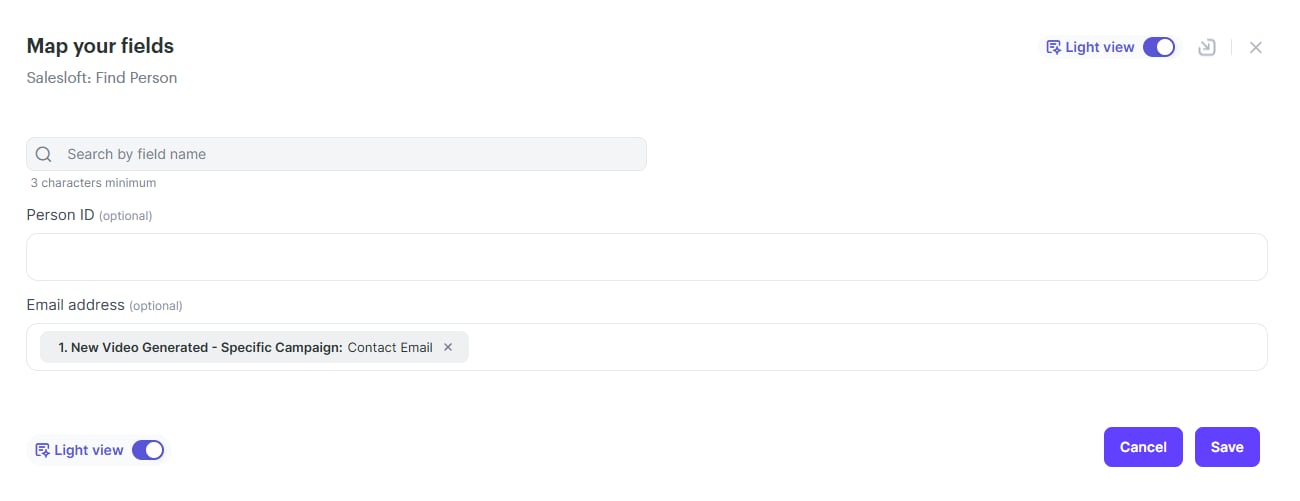
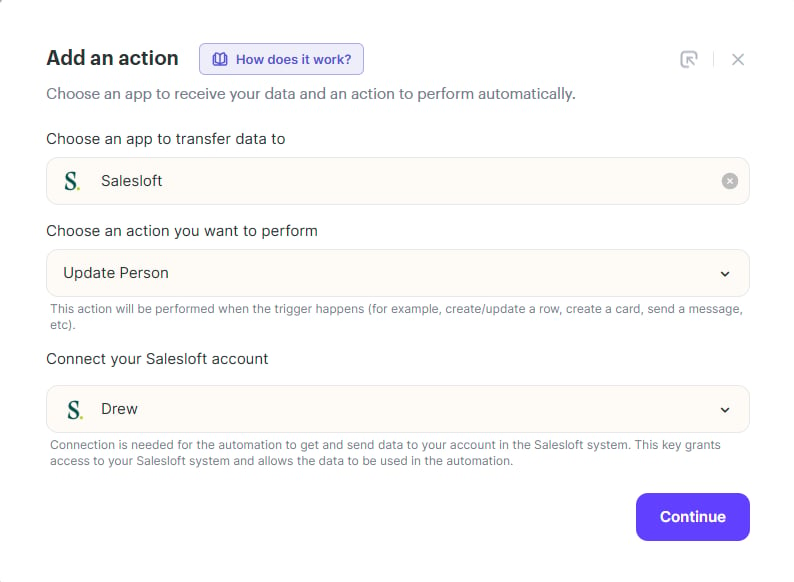
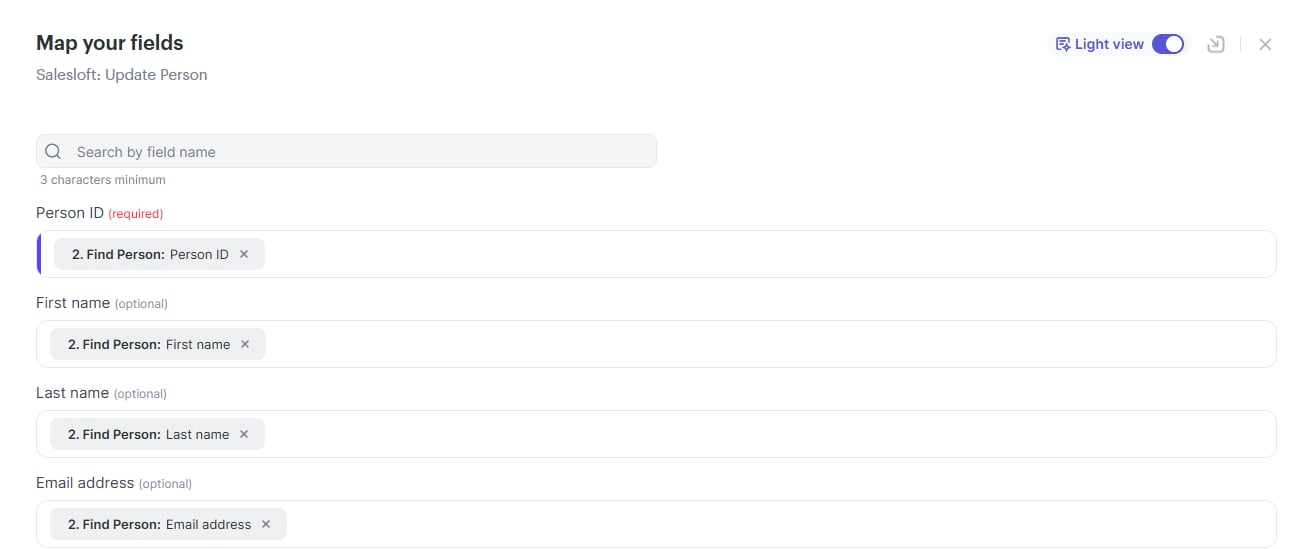
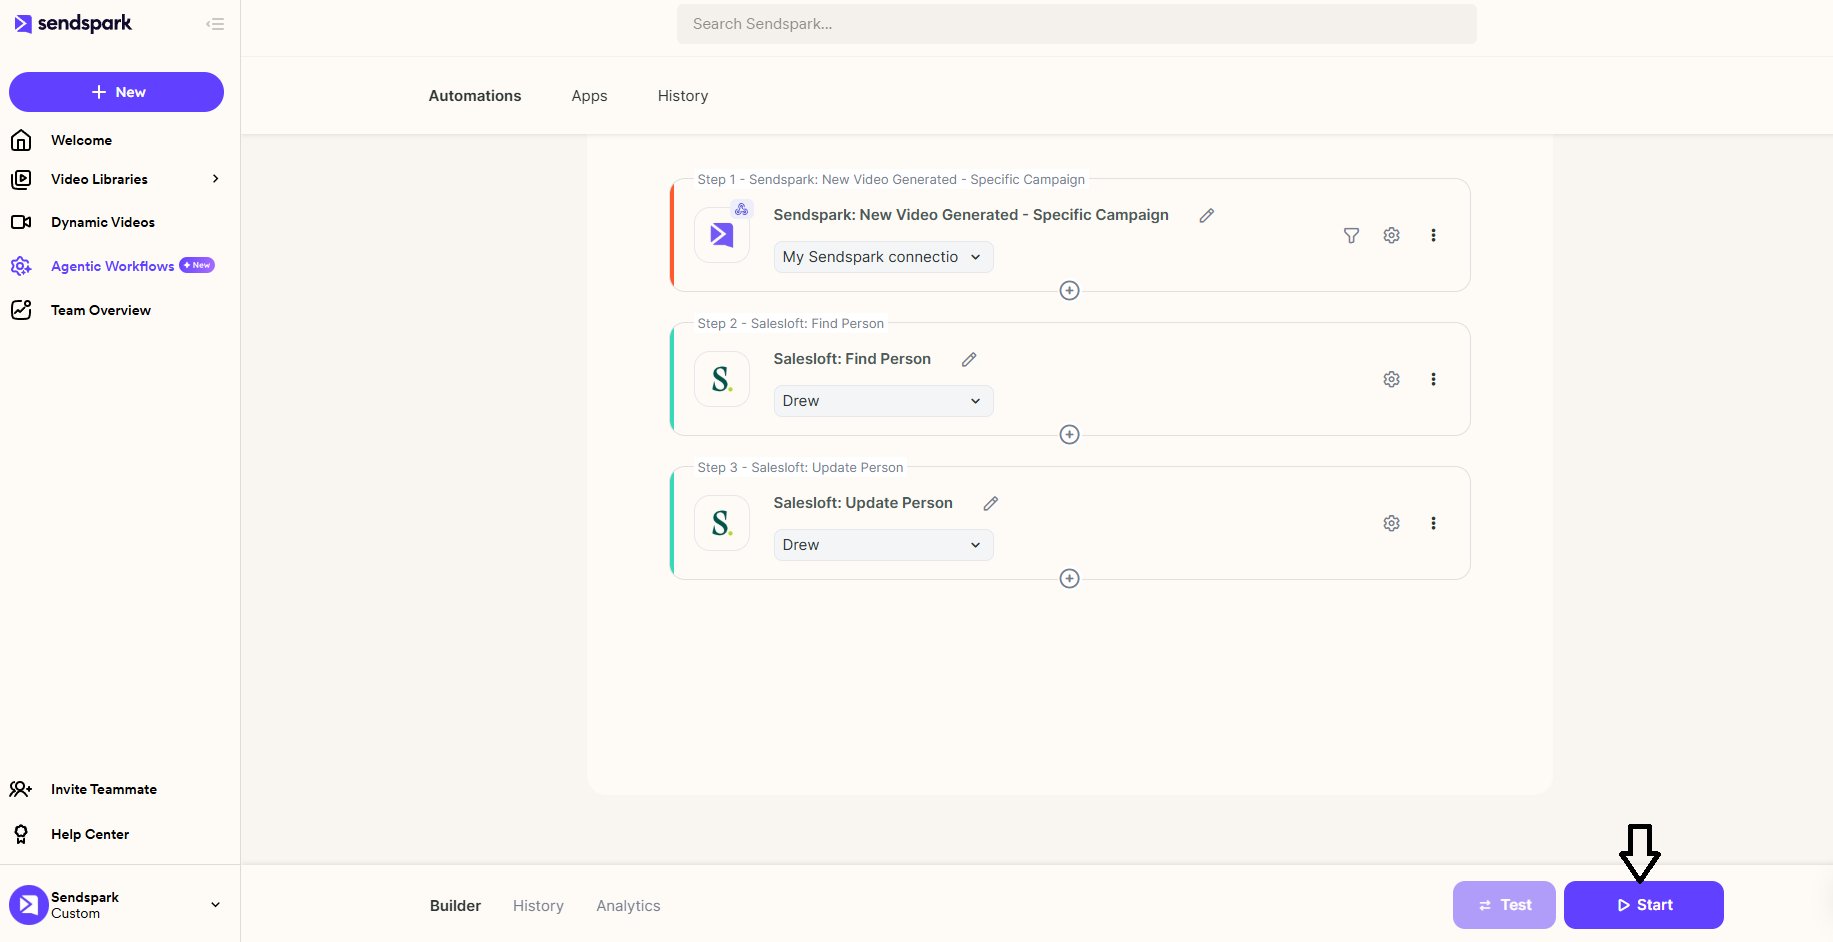
These two actions assume the lead already exists in Salesloft. If the lead isn’t
there yet, create it first, otherwise Find Person has nothing to match on.
5. Test with a single contact
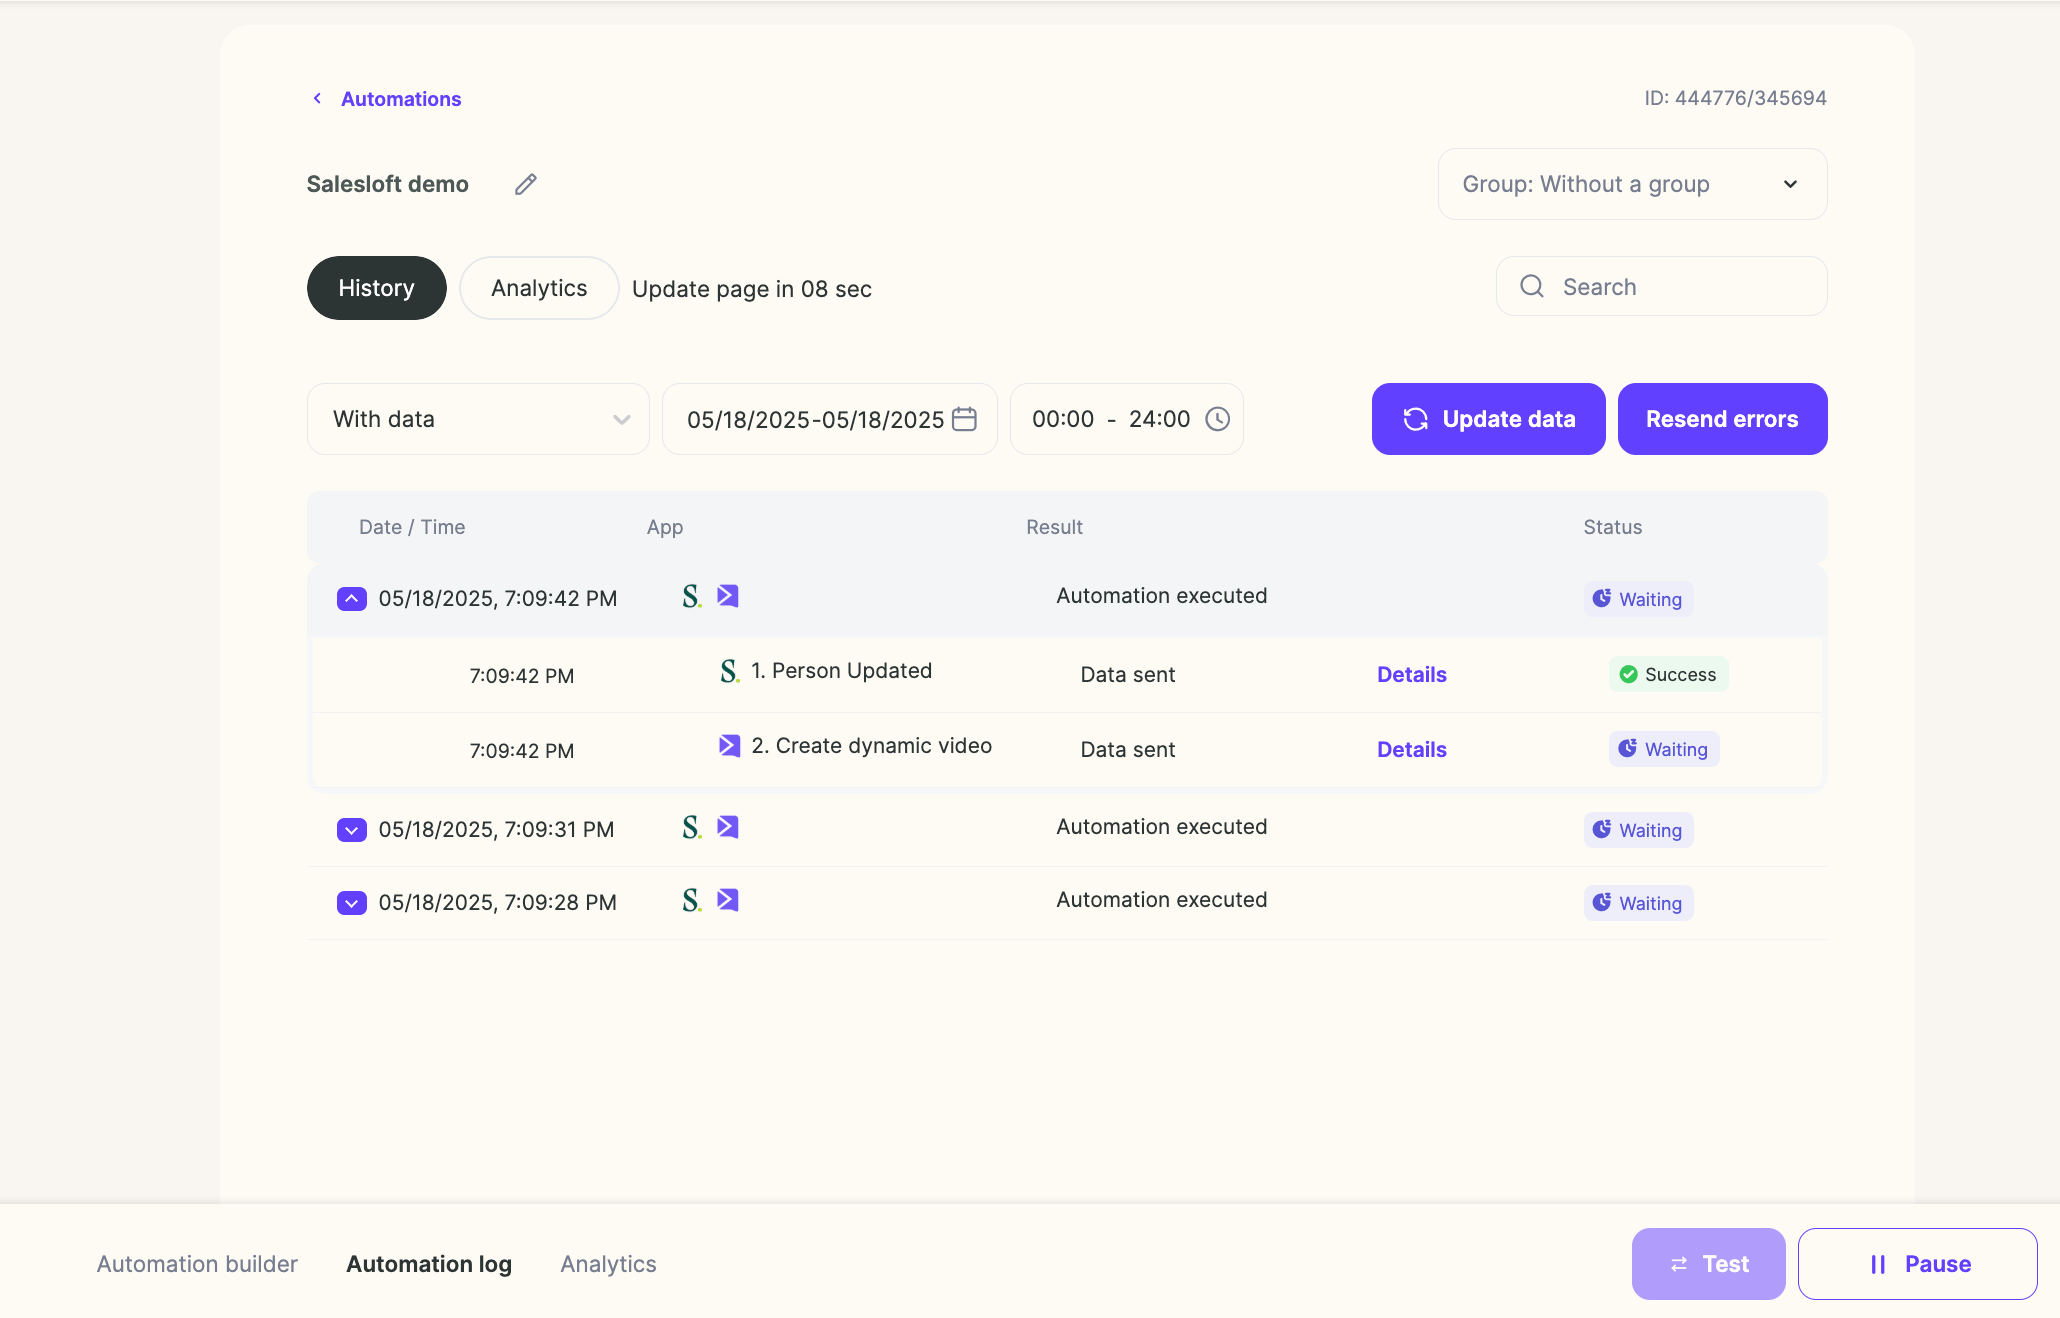
With both workflows running, go back to your dynamic video campaign, add one test contact, and watch the result in the History tab of the workflow.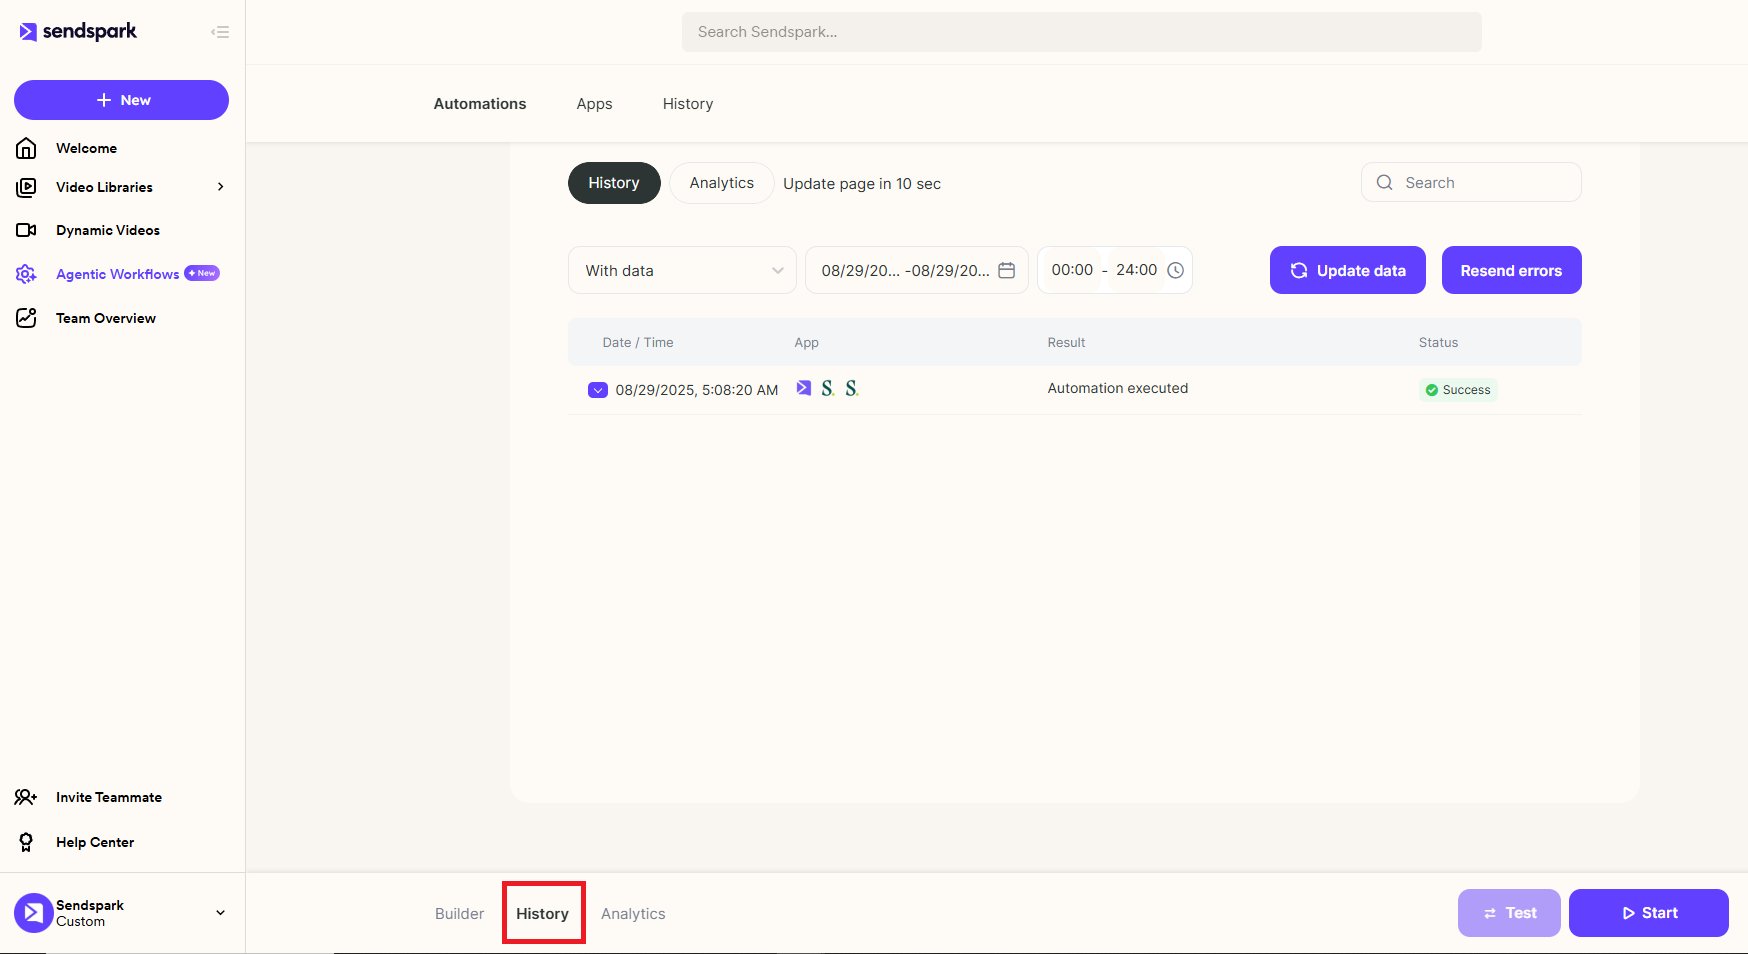
Frequently asked questions
Which Salesloft actions connect the automation back to Salesloft?
Which Salesloft actions connect the automation back to Salesloft?
Two, added after Create Dynamic Video: find person, mapping the contact email to the Email address field, and update person, mapping the remaining fields. Connect your Salesloft account for each.
What if my lead doesn't exist in Salesloft yet?
What if my lead doesn't exist in Salesloft yet?
This flow assumes the lead already exists. If it isn’t there, create the lead in Salesloft first, otherwise the find person action has nothing to match on.
How do I test that it's working?
How do I test that it's working?
Add one test contact to your Dynamic Video Campaign, then track the result in the History section of your workflow before you enrol a real cadence.
Where do I paste the Salesloft snippet?
Where do I paste the Salesloft snippet?
Go to your Dynamic Video campaign, click Share Campaign, search for Salesloft, and copy the snippet. Paste it directly into your Salesloft cadence email where you want the video to appear.
Which cadence step should the video go on?
Which cadence step should the video go on?
Add the video on Day 2 of the email cadence or later. This gives each video time to generate before the email is sent, and it can help with deliverability too.
How do videos generate automatically when someone is enrolled?
How do videos generate automatically when someone is enrolled?
Create a Sendspark Agentic Workflow. For the trigger, select Salesloft, connect your account, and use “Person Updated,” then refine it so “Most Recent Cadence” is the cadence where you added the video placeholder (using the cadence ID is most precise). For the action, select Sendspark and “Create Dynamic Video,” then map the Salesloft fields to Sendspark and click Start.
How can I test the setup?
How can I test the setup?
Preview by making a Sendspark video for George (g.p.burdell@example.net), Salesloft’s default test contact. You can also enroll a real contact in the cadence and watch the video begin generating in Sendspark, then check the Automation log for details. Allow a minute or two for the video to generate.