

Key takeaways
- The Dynamic Video Campaign acts as the template for every AI-personalized video created.
- Copy the Salesloft snippet from Share Campaign and paste it into your Salesloft email where you want the video to appear.
- Add two Salesloft actions to your Sendspark automation: “find person” (map the contact email) and “update person” (map the fields).
- The lead must already exist in Salesloft; if it doesn’t, create the lead first.
- Add a test contact and track results in the automation’s History section.
1. Create Dynamic Video Campaign in Sendspark
This will act as the template for all AI-personalized videos created. Learn more about creating dynamic videos here.2. Add Video Placeholder to Salesloft Email Template
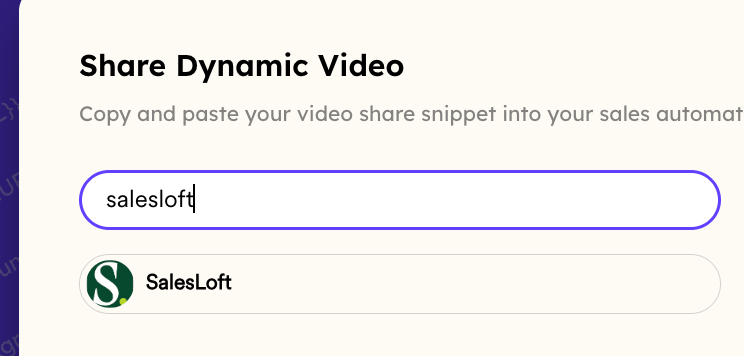
You can add this placeholder snippet to your snippet to your Salesloft email cadence to mark where the video should go. Go to your Dynamic Video Campaign and click “Share Campaign”
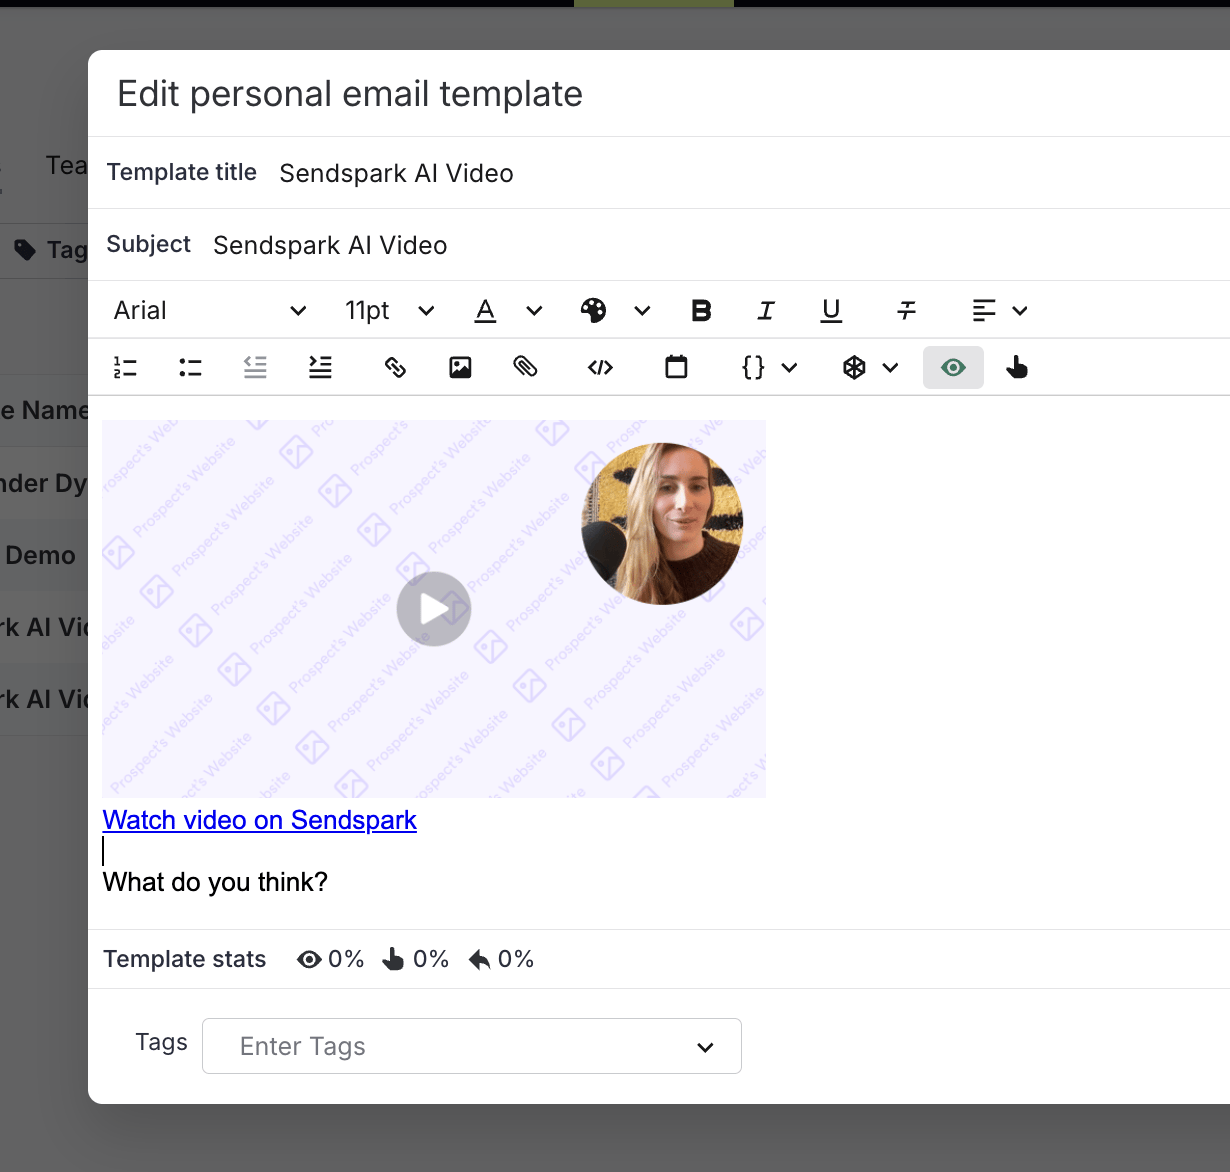
3. Find The Person On Salesloft
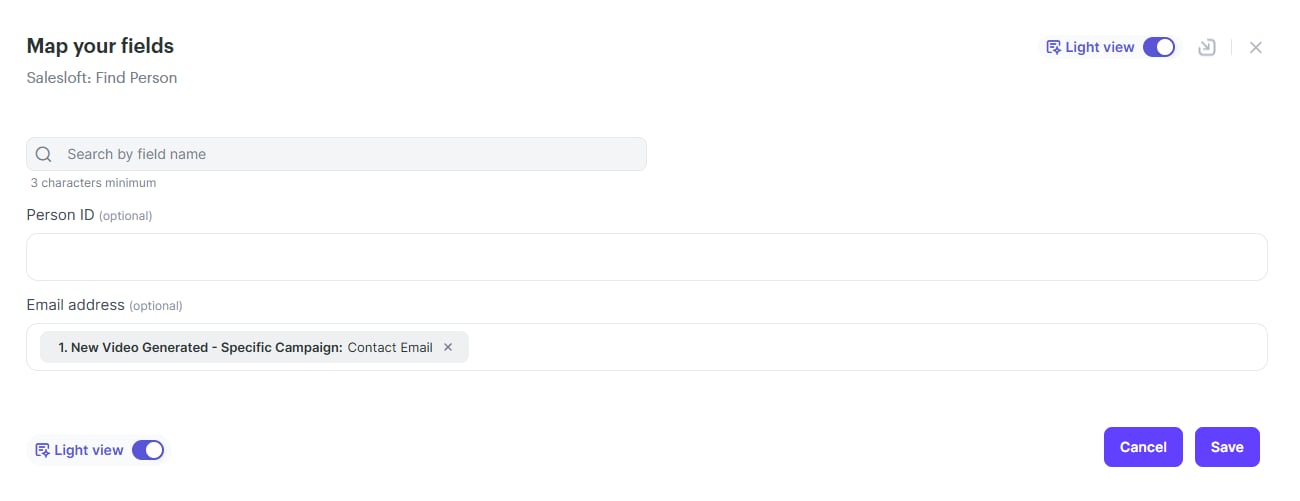
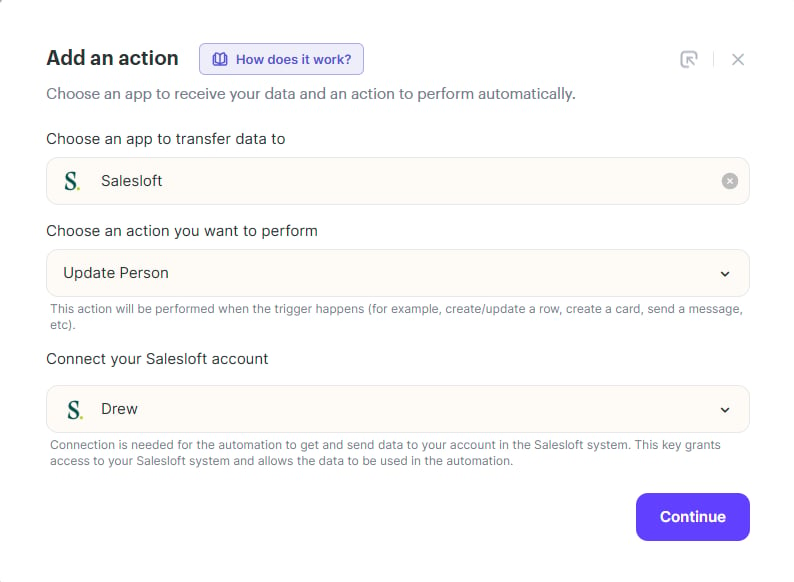
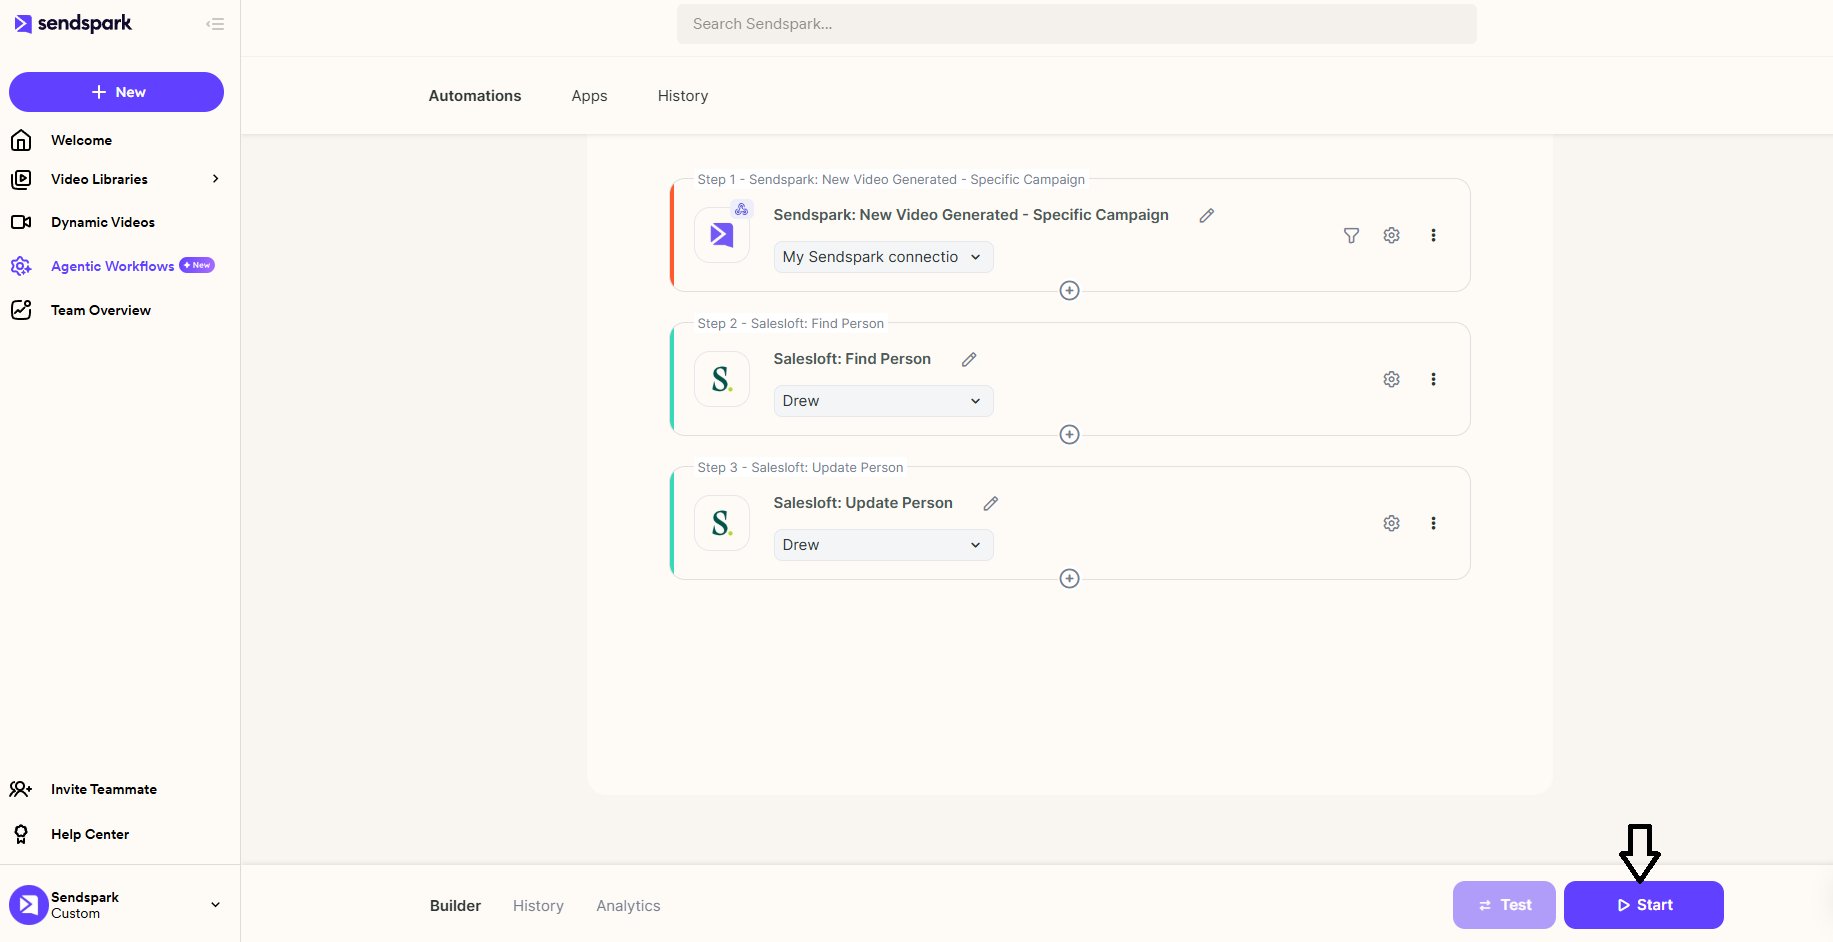
Go back to your automation and click on the ” + ” icon and choose “action”. Search for Salesloft and click on “find person” and connect your Salesloft account. 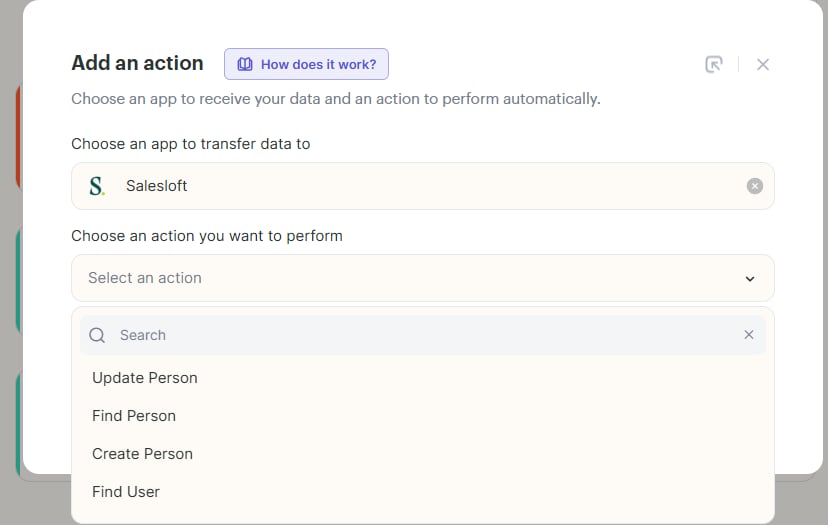
4. Update The Person On Salesloft
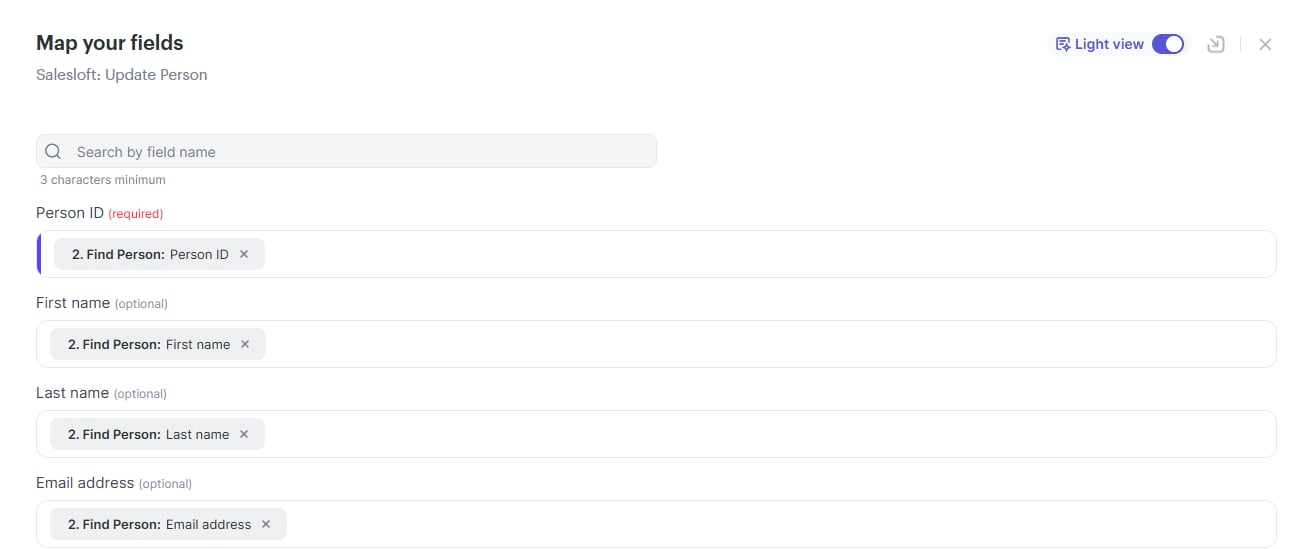
Click on the ”+” icon again and hit “action”, search for Salesloft and choose “update person” and also connect your Salesloft account again.
5. Add Contacts To Your Campaign
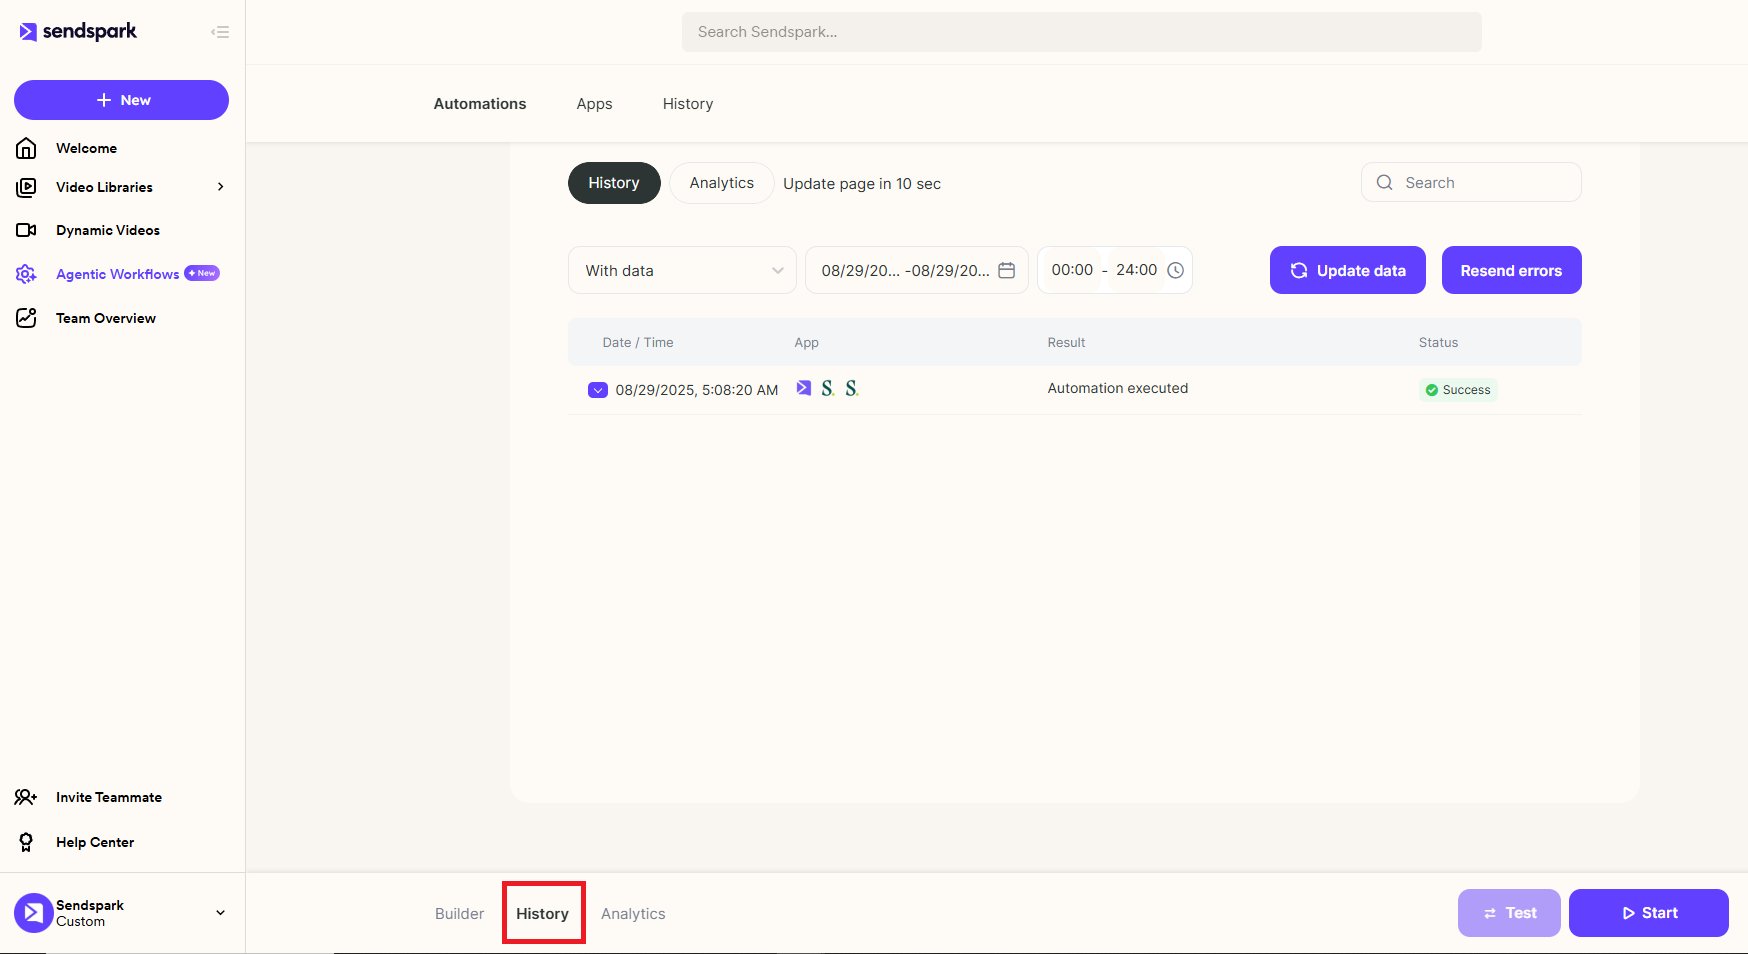
Once you start the campaign, you can go back to your dynamic video campaign and add a test contact and track the result from the “history” section of your workflow.
Frequently asked questions
Where do I paste the video snippet?
Where do I paste the video snippet?
Go to your Dynamic Video Campaign, click Share Campaign, search for Salesloft, copy the snippet, and paste it directly into your Salesloft email where you want the video to appear.
What if my lead doesn't exist in Salesloft yet?
What if my lead doesn't exist in Salesloft yet?
This flow assumes the lead already exists in Salesloft. If the lead isn’t there, create the lead in Salesloft first, then run the automation.
Which actions connect Sendspark to Salesloft?
Which actions connect Sendspark to Salesloft?
Add two Salesloft actions in your Sendspark automation: “find person” (mapping the contact email to the Email address field) and “update person” (mapping the remaining fields). Connect your Salesloft account for each.
How do I test that it's working?
How do I test that it's working?
After starting the campaign, add a test contact to your Dynamic Video Campaign and track the result in the History section of your workflow.