Key takeaways
- The integration can trigger video creation from nearly any event — a new CRM contact, a form submission, a signup, or a product action.
- Your Zap needs two parts: a Trigger (the event) and an Action set to Sendspark’s Create Dynamic Video.
- You authenticate with your Sendspark API key and secret, both found in the API Credentials section.
- Only Email is used as the unique identifier that links each generated video to the right contact later; company name, job title, and website URL are optional personalization fields.
- Prospects are added to a list in Salesforce, Outreach, etc
- Leads fill out forms or take actions on your website
- New users sign up for your platform
- Customers take specific actions in your product
- And more!
How to Automatically Generate Sendspark Dynamic Videos with Zapier
Install the Sendspark Zapier Integration
Before you get started, install the Sendspark Zapier Integration! Get Sendspark Zapier Integration1. Make Your Zap
To start, make your Zap in Zapier!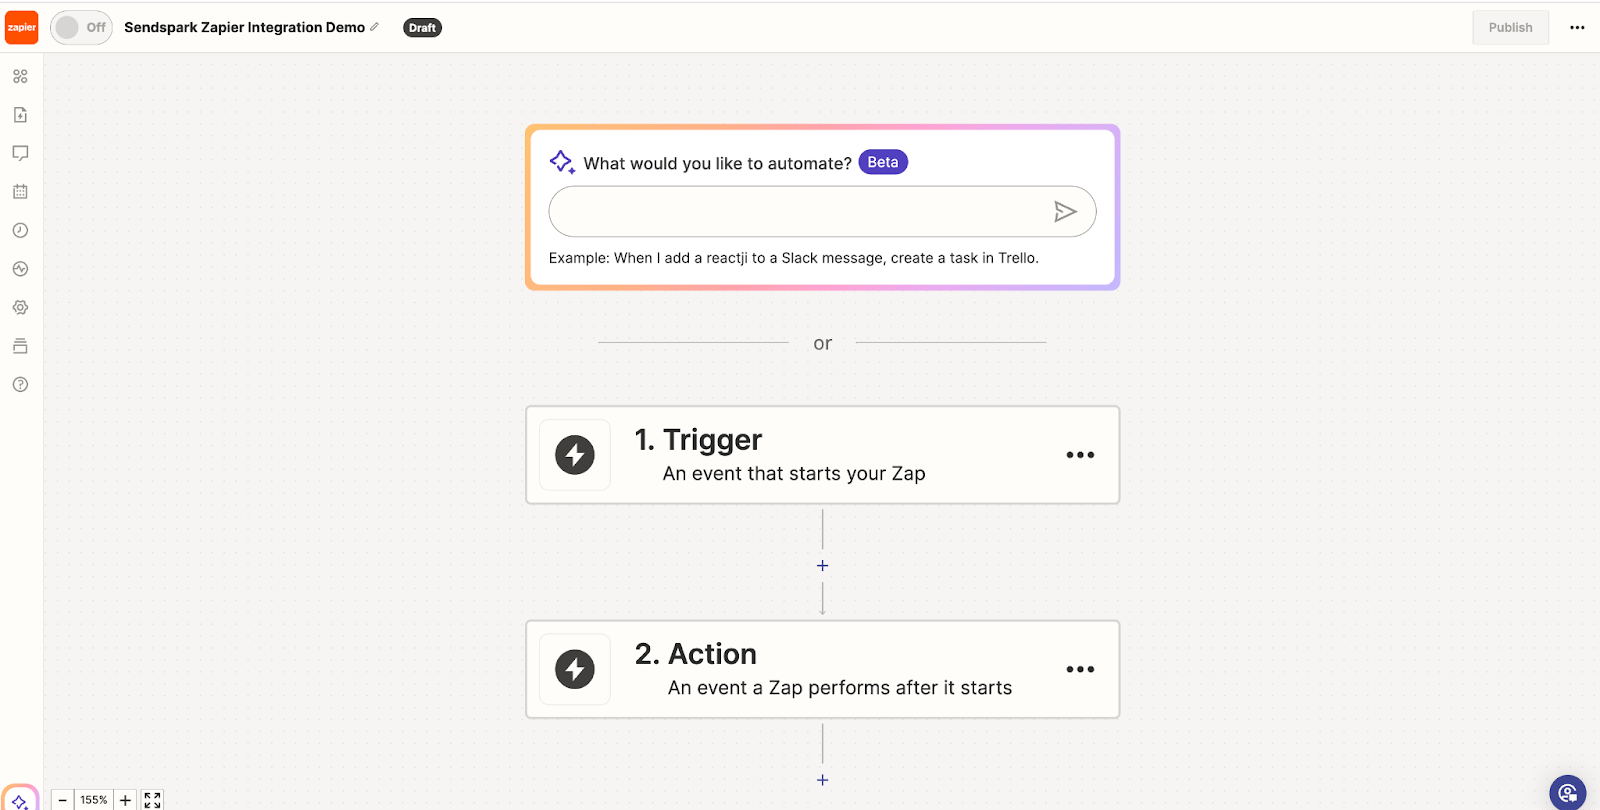
- **Trigger:**this is the event that should trigger this workflow to start (contact is added to CRM, schedules a meeting, fills out a form, etc)
- **Action:**this is what you want to happen next — in this case, generate a dynamic video with Sendspark.
2. Set Your Trigger: Fills Out Form
The trigger can be ANY trigger in Zapier that indicates now is time to generate a dynamic video. In this example, we’ll use this HubSpot form, “Get a Sendspark Video (Zapier Automation)”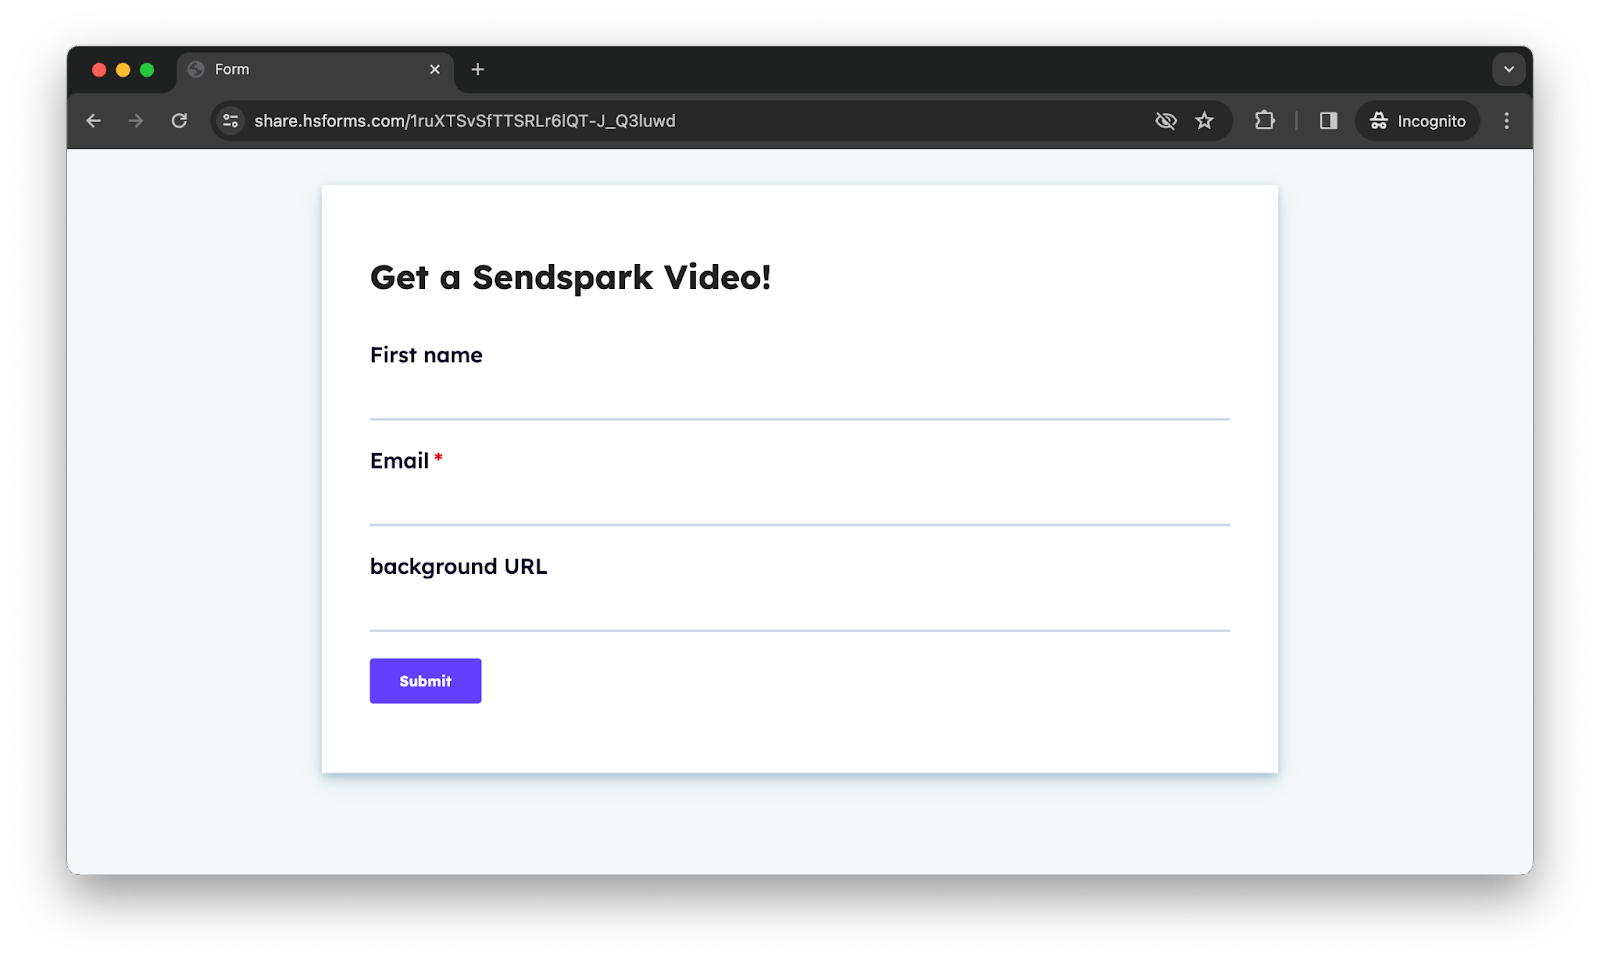
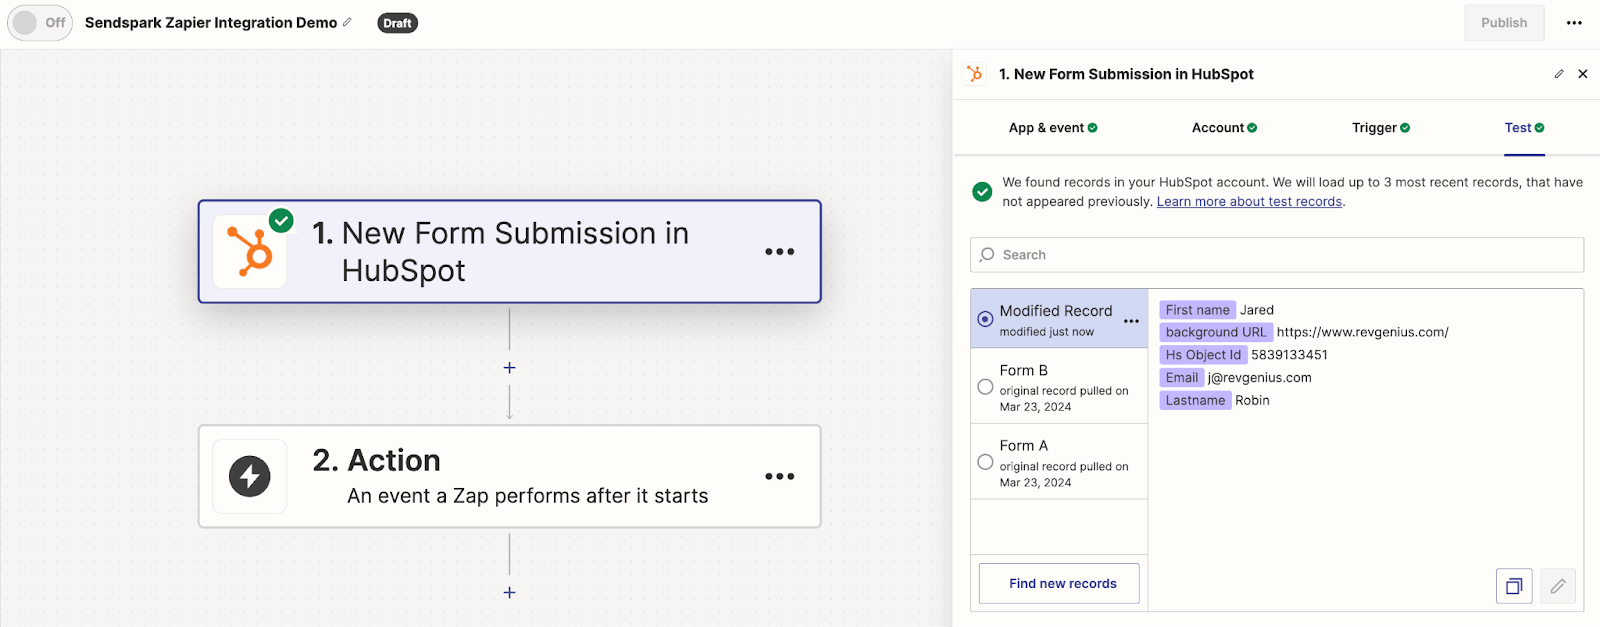
- Click into “Trigger”
- Select “HubSpot”
- As the event, select “New Form Submission”
- Click “continue”
- Follow the next few steps to connect to HubSpot, select that specific form, and test
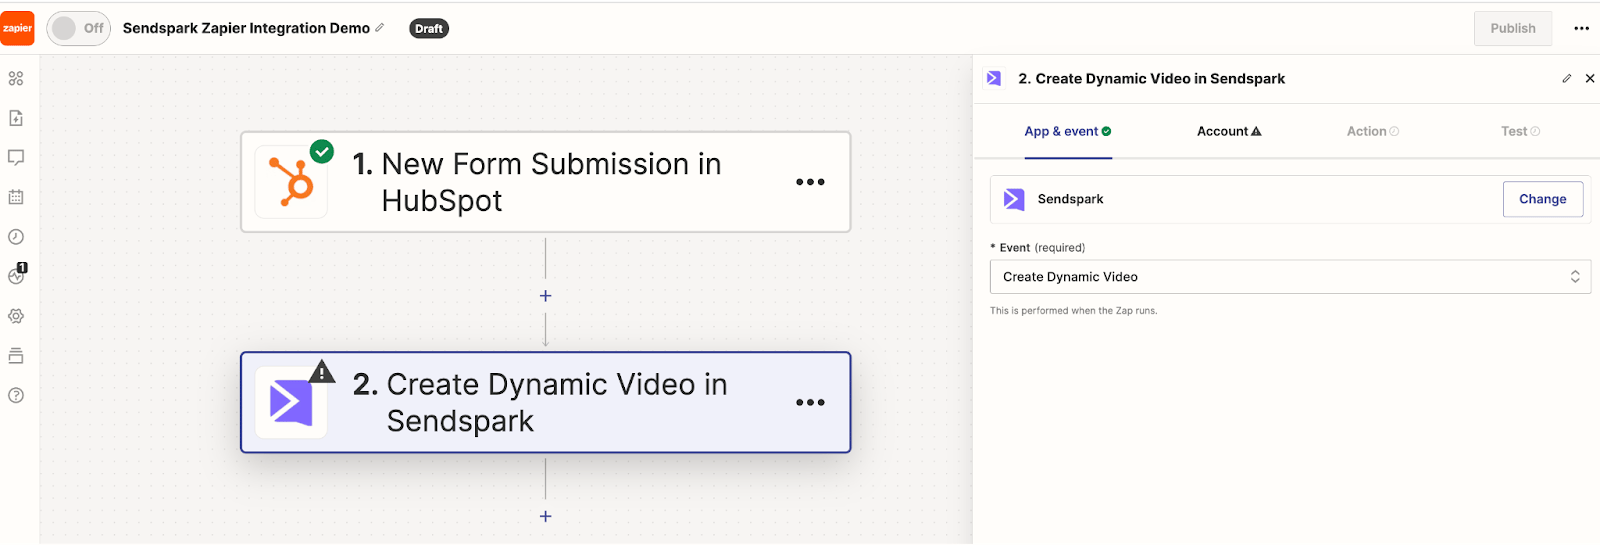
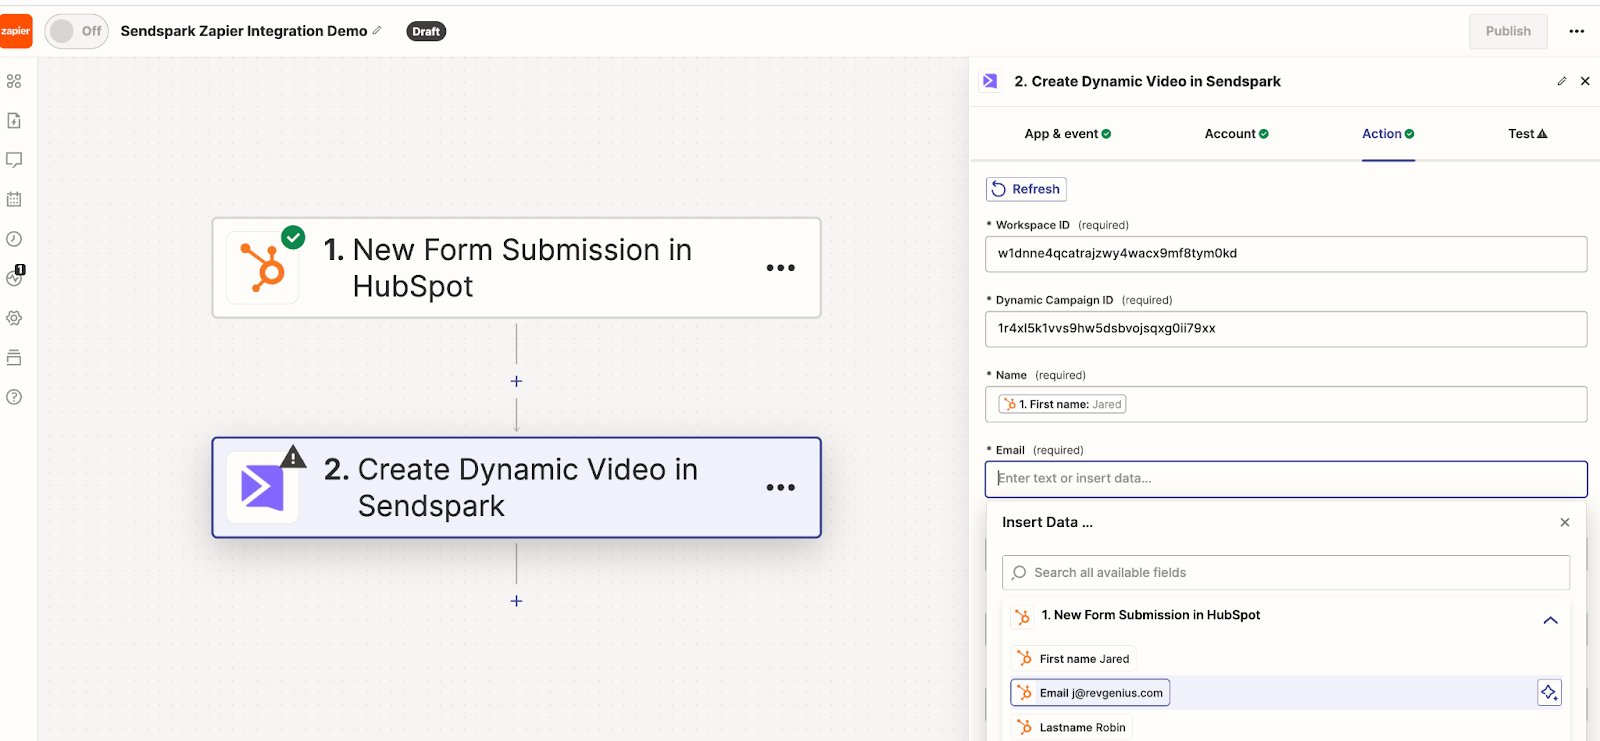
3. Set Your Action: Generate Dynamic Video
Now, you want to set your “Action” to be to generate a Sendspark Dynamic Video.- Click into**“Action”**
- Search for**“Sendspark”**
- As the action, select “Create Dynamic Video”
- You can find both in the API Credentials section in Sendspark.
How to Find Data Fields:
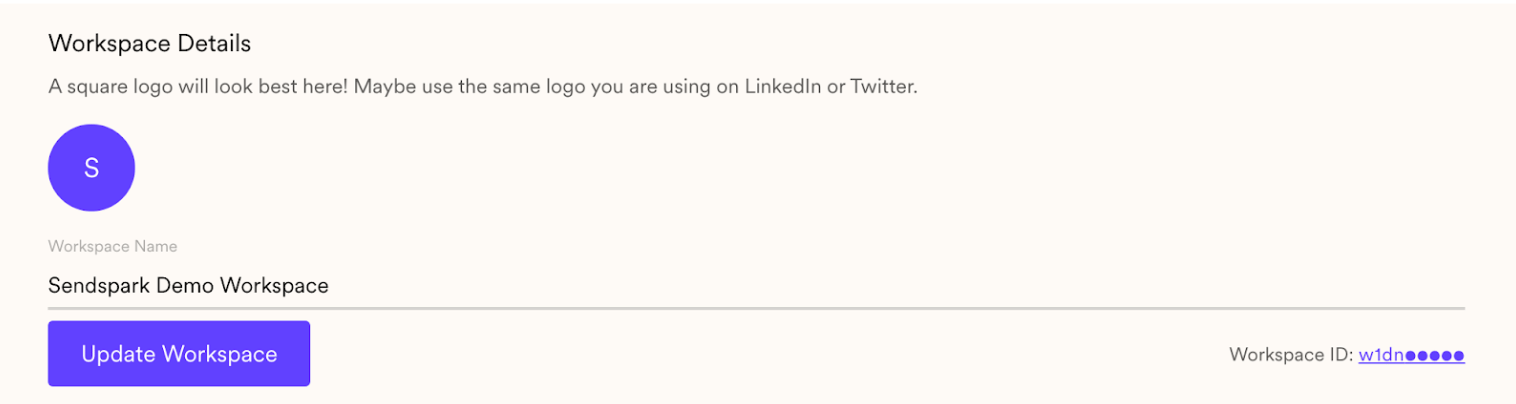
- **Workspace ID:**this is the unique identifier for your workspace. You can find it in your workspace settings.
- Dynamic Campaign ID: this is the unique identifier for the dynamic video campaign that we should enroll this contact in. You can find this of the URL of your dynamic video campaign, between the 2 slashes

- **Name:**This is the first name of the contact you are creating the video for. We will use this both in the voice cloning in the video (to replace the word “watermelon”) and on the page to replace the “first name” variable
- **Email:**This is the email address for the contact you are creating the video for. We will use this as the unique identifier to link this video with the contact in your email sending platform in future steps.
- **Company Name (Optional):**This is the name of the company for your contact. We will use this to replace the “Company name” variable in Sendspark.
- **Job Title (Optional):**This is the job title for your contact. We will use this to replace the “job title” variable in Sendspark.
- Website URL: this is any public URL that you would like to use as the “background” of your video. In the final dynamic video, it will like like your camera bubble is recording over this website.
Next Steps: Automatically Send Video Email
Now that you are automatically generating videos via automation, you might want to automatically send the videos in email. See this article on how to use webhooks in Zapierto know when videos have successfully generated in order to trigger a new Zapier campaign to send the video emails.Frequently asked questions
What triggers can I use to generate a video?
What triggers can I use to generate a video?
Almost any Zapier trigger works. Common examples include a prospect being added to a list in Salesforce or Outreach, a lead filling out a form on your website, a new user signing up for your platform, or a customer taking a specific action in your product.
How do I authenticate Zapier with Sendspark?
How do I authenticate Zapier with Sendspark?
When you set the Sendspark Create Dynamic Video action, Zapier asks for your API key and secret. You can find both in the API Credentials section in Sendspark.
Where do I find my workspace ID and campaign ID?
Where do I find my workspace ID and campaign ID?
Your Workspace ID is in your workspace settings. Your Dynamic Campaign ID is in the URL of your dynamic video campaign, between the two slashes.
Which fields are required versus optional?
Which fields are required versus optional?
Name and Email are used to personalize the video and identify the contact — Email is the unique identifier that links the video to the contact in your email platform. Company Name, Job Title, and Website URL are optional; the website URL becomes the background the camera bubble records over.
How do I know the video was created?
How do I know the video was created?
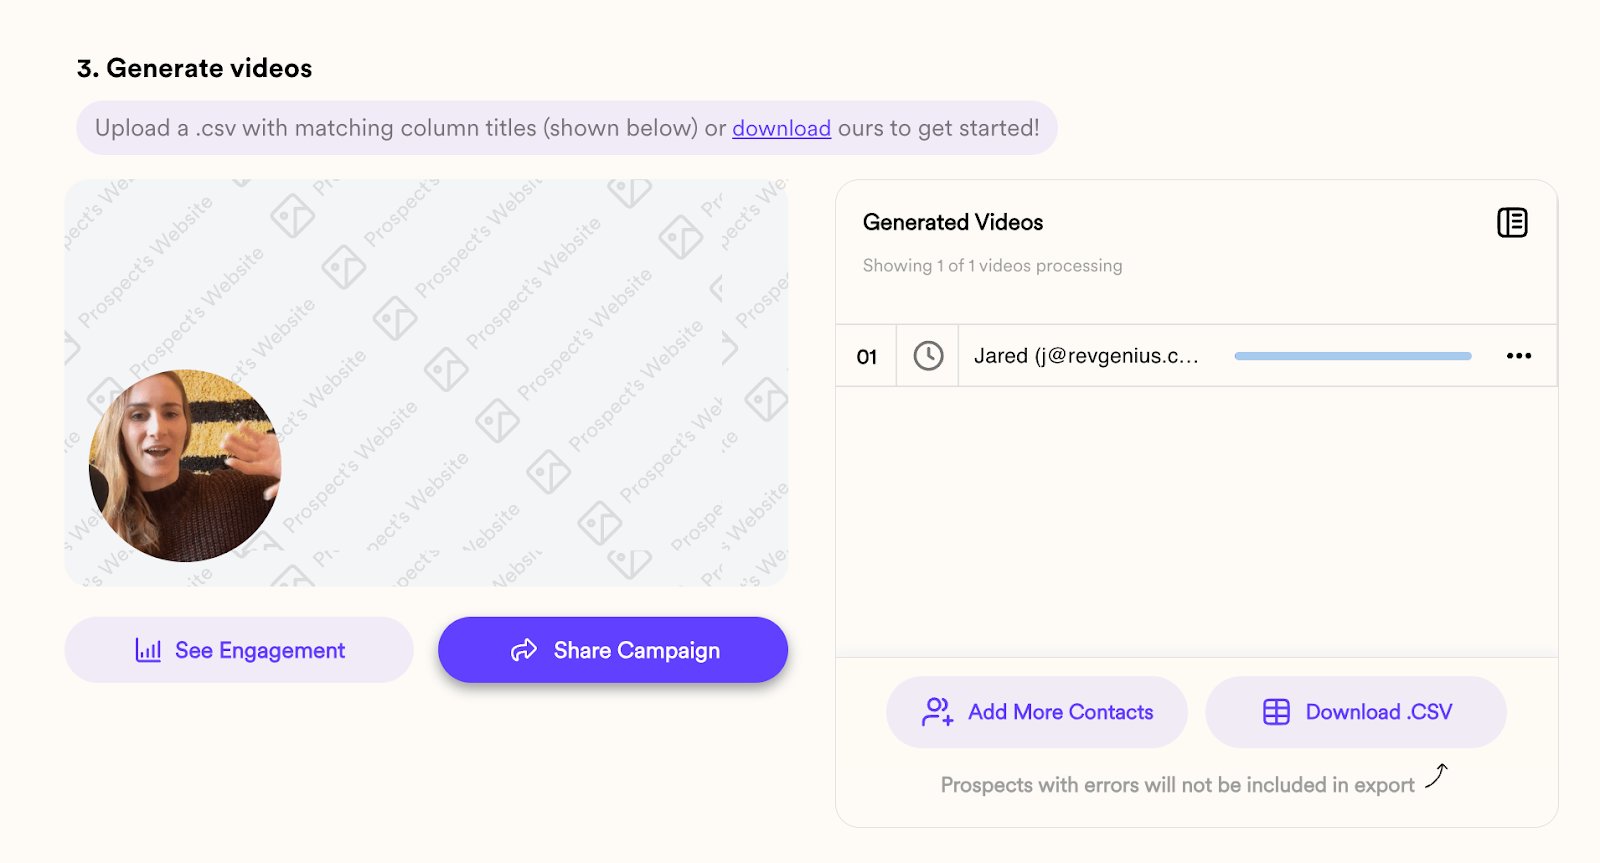
After clicking Test Step, return to your Dynamic Video in Sendspark and you should see a video generating for that contact in the queue. Give it a few minutes to generate, then preview it before publishing your Zap to create videos at scale.